
Introduction
I apologize: when I write blog posts, I like to be very detailed. I tend to be very verbose.
This is a summary of my much longer GitHub cheat sheet for PnP contributions, but without all the explanations.
If you need help to get started, I suggest you read the full article.
Otherwise, enter your information below and we’ll automatically generate all the GitHub commands you need to get started on a PnP contribution.
Customize this article
This article will automatically change the instructions to reflect the parameters you enter below.
| Variable | Value |
|---|---|
| Original Repository (Upstream) | |
| Your GitHub username | |
Start branch name (default is master) |
|
| Branch name |
Step 1: Fork repository
- In your browser go to ().
- In the upper right corner, select the Fork button

- GitHub will automatically begin the forking process. You get a cute little animation showing that it is "copying" the repository, and you end up in your own copy of the repository.
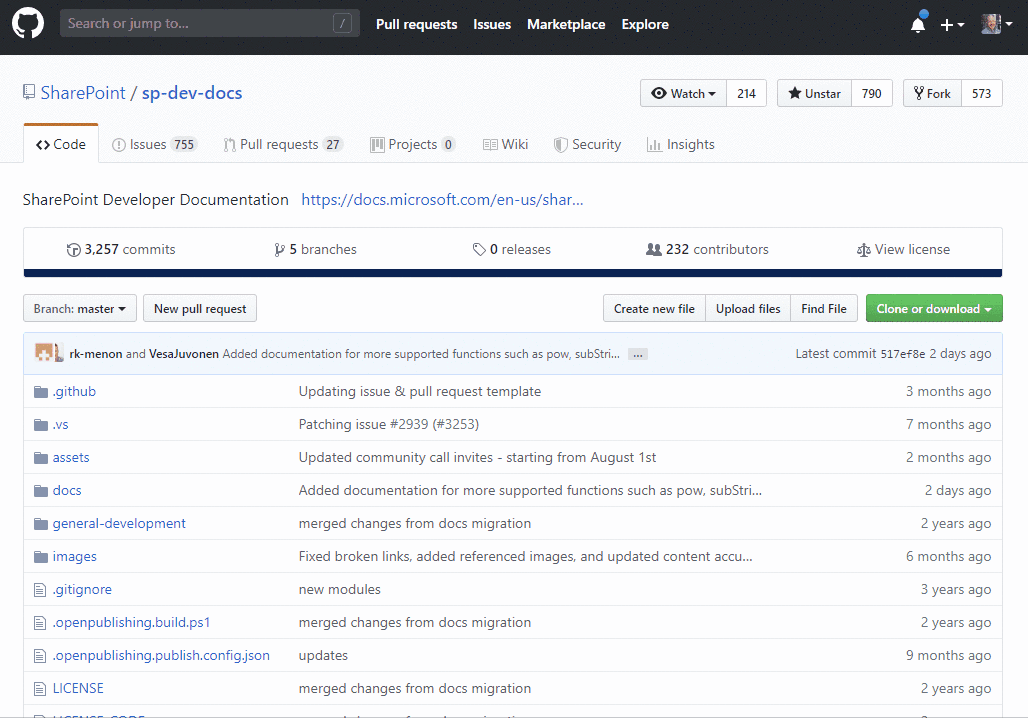
- You’ll know that you’re in a fork because the owner will have changed to you, and it should say "forked from …"

Step 2: Clone repository
- From your computer, launch whatever tool you like to run Git commands. Some people like Git Bash, but I prefer Cmder or the Node.js command prompt.
- Make sure that your command prompt is in the directory where you’ll want to create your local repositories. I like to use
c:\github. You can do so by typing:cd \github - The repository you will clone will be created a directory within your current directory. To clone the repository, type the following:
git clone https://github.com/[your_github_username]/sp-dev-fx-webparts.gitIt should create a directory with the same name as your repo, then should download all the files locally to that directory.
- Once your local repo is created, change to the new directory by typing:
cd sp-dev-fx-webparts - To link your local repo with the original upstream repo, you’ll type the following:
git remote add upstream https://github.com/SharePoint/sp-dev-fx-webparts.git - Before you start making changes, you should make sure that you have the latest version from the original upstream repository by typing:
git fetch upstream
Step 3: Create a branch
To create your branch, follow these steps:
- Update your local repository with the latest changes from the upstream repository by typing the following:
git pull upstream master:coolerest-feature - Now we’ll let your forked origin repo know about the new branch you’ve created by typing:
git push origin my-feature - Switch to the new branch you’ve created by typing the following:
git checkout my-feature
Now you’re ready to contribute!
Summary of commands — steps 2-4
Here are all the commands from steps 2-4. You can just copy and paste all the lines below and run them all at once.
git clone https://github.com/hugoabernier/sp-dev-fx-webparts.git
cd sp-dev-fx-webparts
git remote add upstream https://github.com/SharePoint/sp-dev-fx-webparts.git
git pull upstream master:my-feature
Step 4: Contribute
Now that you have your own branch, you can make the changes you need. Please make sure you follow the Microsoft Open Source code of conduct.
If you aren’t sure about the code of conduct, you can also check out the Code of Conduct FAQ.
Once you’re done making your changes, you’ll want to push your contributions.
Step 5: Push your changes
You can do so by following these steps:
- From the local branch folder, type:
git add . - Commit your changes by typing:
git commit -v -a -m "Initial commit" - Push your changes to your origin repository, as follows:
git push origin my-feature
Summary of commands — step 5
Here are all the commands from this step . You can just copy and paste all the lines below and run them all at once.
git add .
git commit -v -a -m "Initial commit"
git push origin my-feature
Step 6: Submit a pull request
When you’re ready, open your pull request by following these steps:
- Use your browser to go to: .
- You’ll be prompted to confirm the branches you want to merge, with an arrow going from one branch to another. Make sure that the arrow is pointing from your branch on your forked repo to the branch on the remote repo. If you follow all the steps above, you should also see Able to merge.
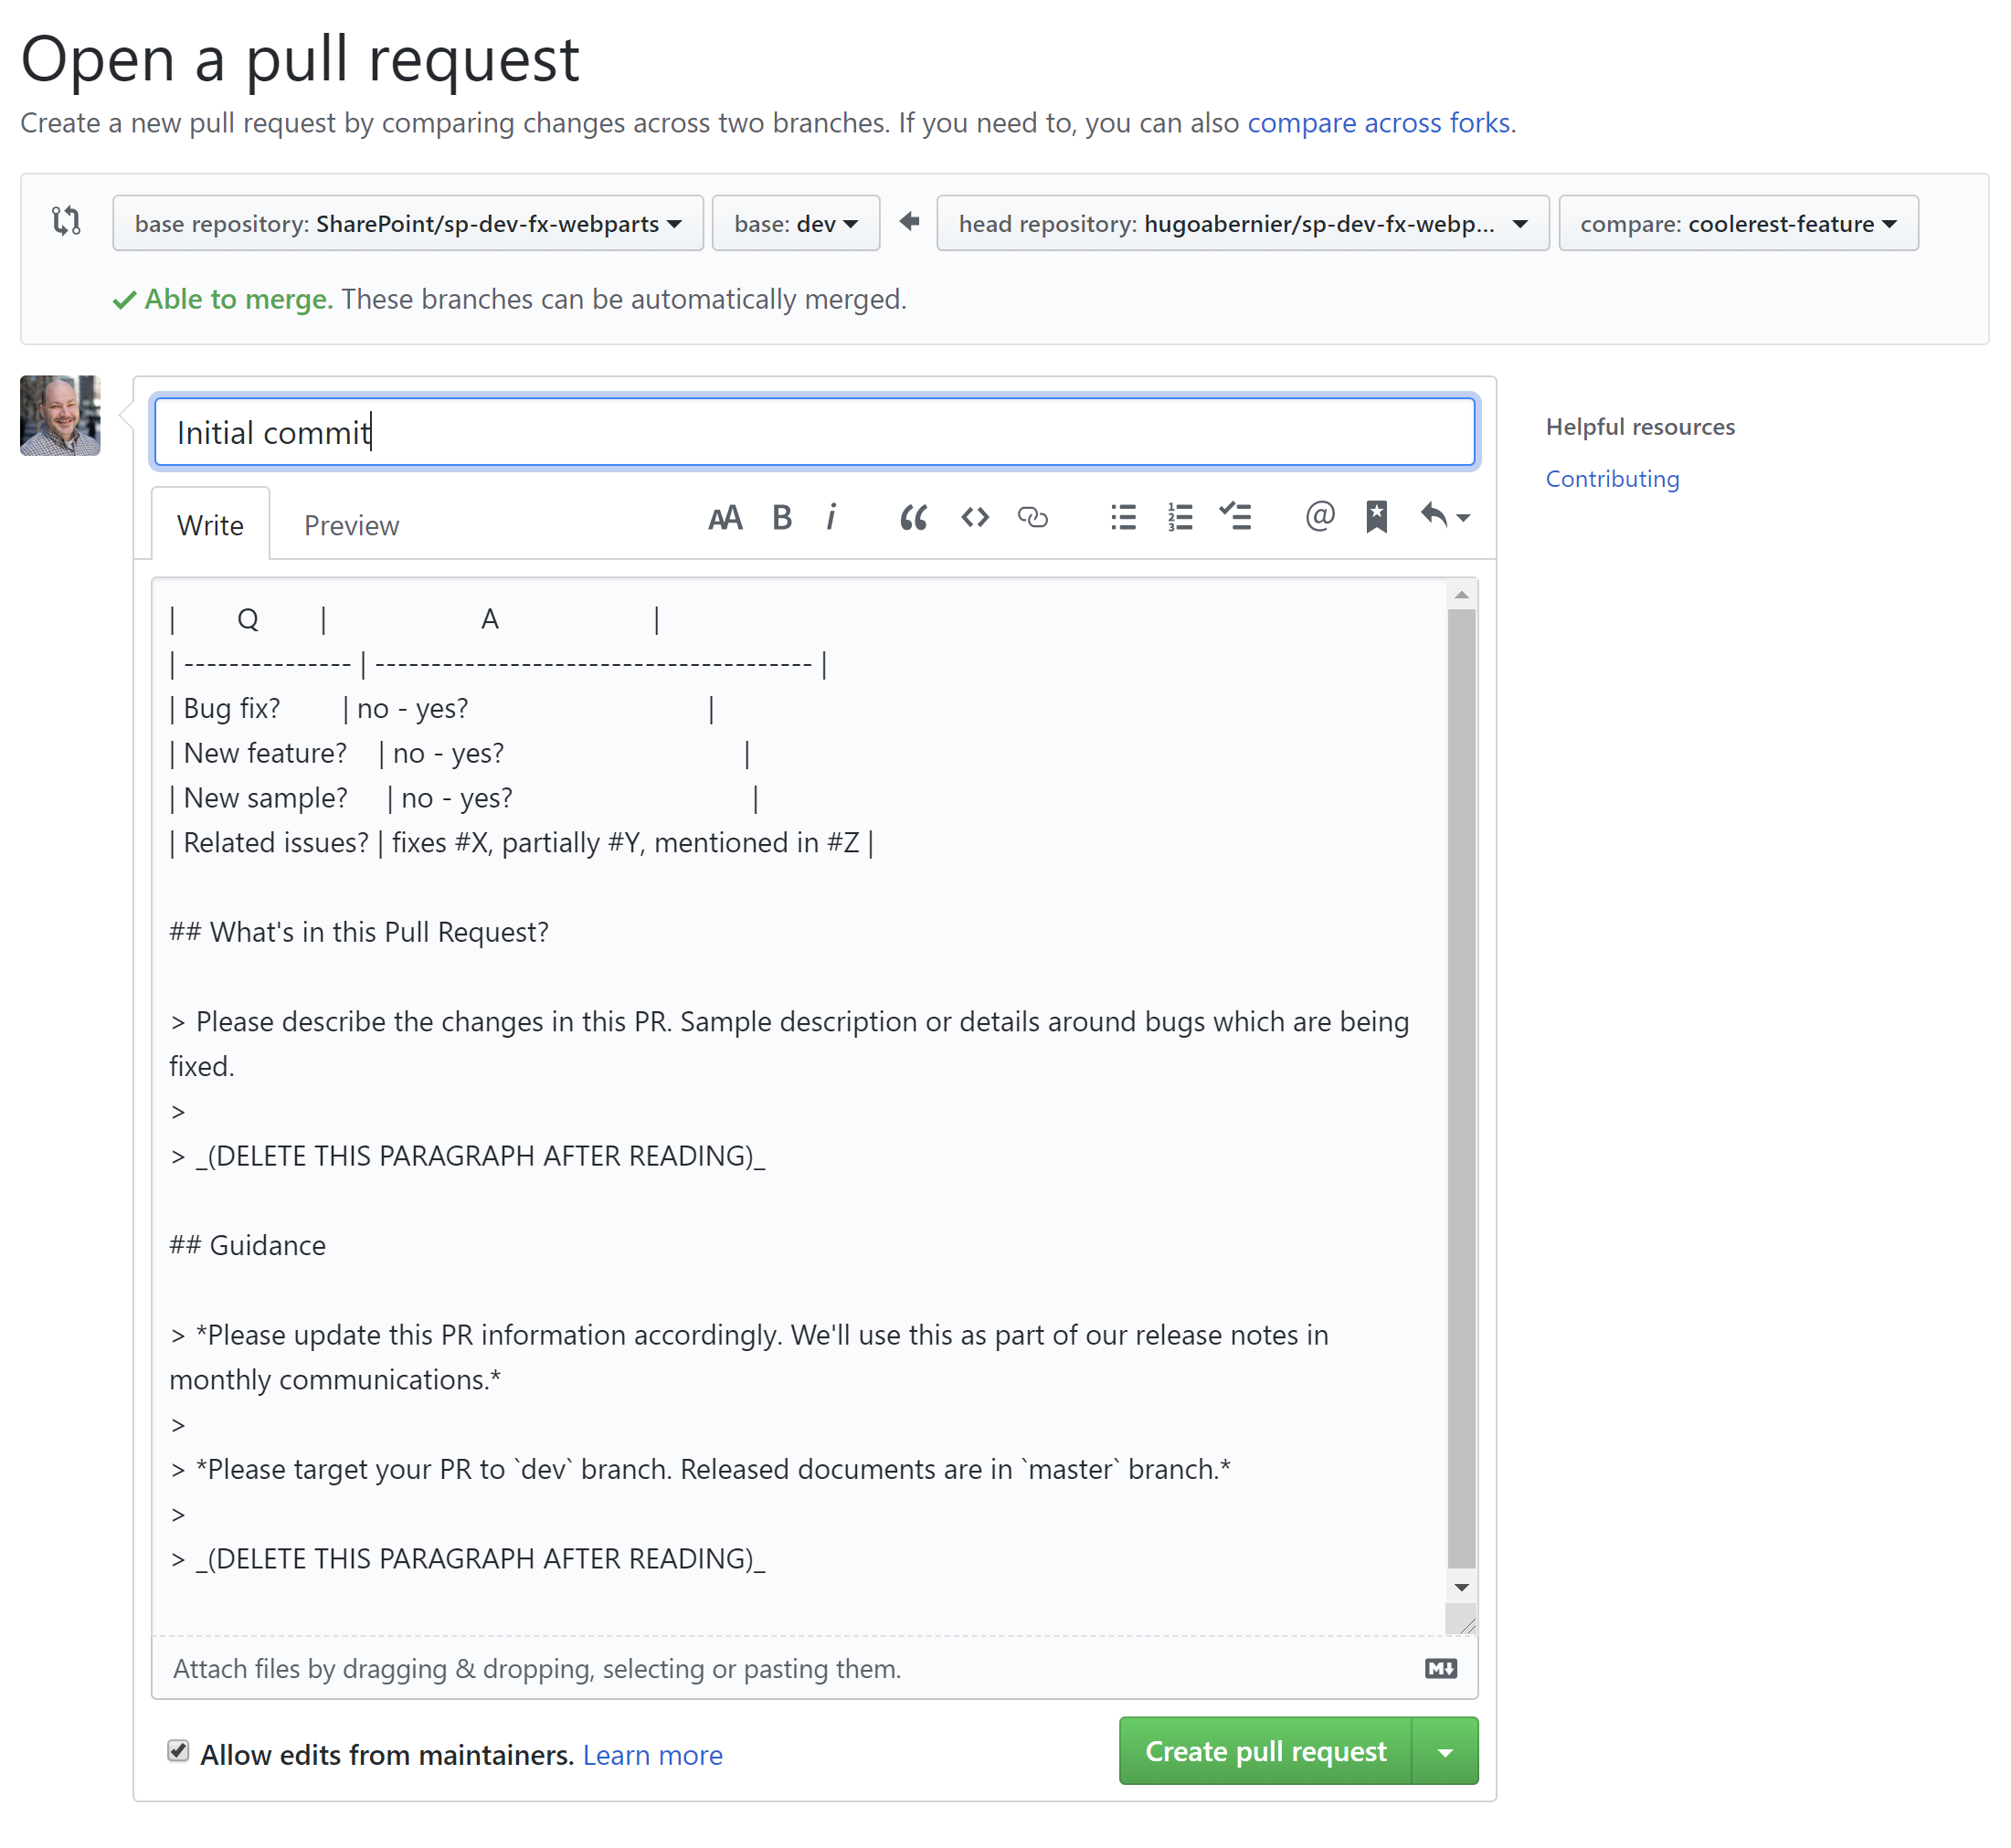
- Provide a descriptive title for your pull request. For example, My feature
- Most PnP repositories have a pull request template. Please be courteous and follow the template instructions. Follow the prompts and answer as much as possible. If there are sections that say
> _(DELETE THIS PARAGRAPH AFTER READING)_, delete them. - When you have filled the template, click Create pull request.
Remember that the people who review — and ultimately approve or reject — your pull request are often volunteers who are most likely bombarded with notifications from GitHub on top of their every-day jobs. Filling the template will make it easier for them to process your pull request faster.
After you’ve completed your pull request, you’ll see that its status is marked as Open
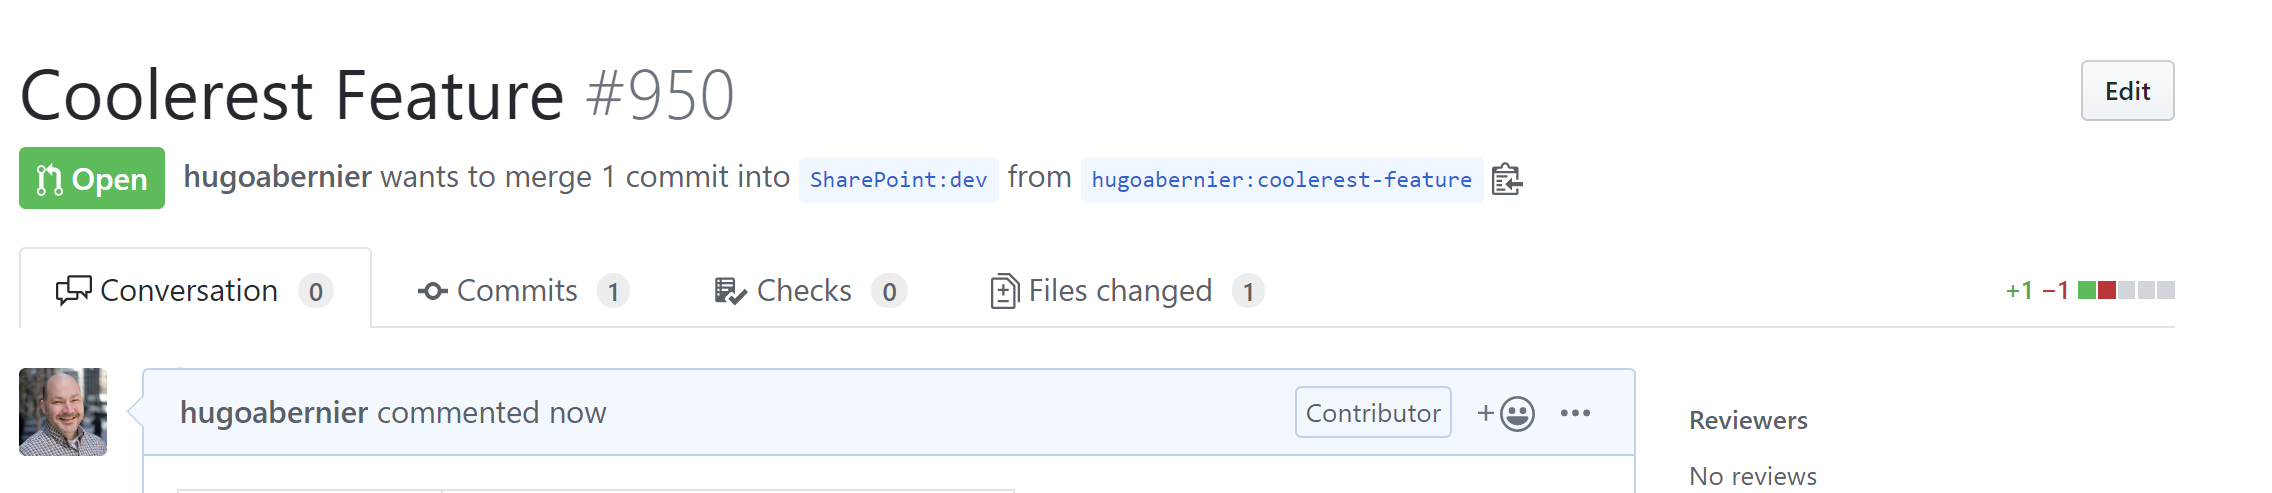
All you have to do now is to wait for your pull request to be merged.
It can take a few days, sometimes weeks before your pull request is approved. Please be patient; Most reviewers are volunteers and have a day-to-day job.
While you’re waiting, you can start a new contribution!
Step 7: Repeat
If you want to continue making contributions, you simply create a new branch from the original base branch. For example, if you were created the second update to your my-feature, you could call your next branch my-next-feature.
Customize this article
Enter the name of the next branch you want to create, and we’ll update the instructions for you:
| Variable | Value |
|---|---|
| Next branch name |
To create your next branch, follow these steps:
- Type the following:
git pull upstream master:my-next-feature - Push your new branch by typing:
git push origin my-next-feature - Finally, switch to your new branch by calling:
git checkout my-next-feature
Once your next branch is created, continue contributing as you did before (contribute, push your changes, submit a pull request).
Summary of commands — step 7
Here are all the commands from this step . You can just copy and paste all the lines below and run them all at once.
git pull upstream master:my-next-feature
git push origin my-next-feature
git checkout my-next-feature
Deleting your branch
Once your pull request has been approved and merged to the master, you can delete your branch. Do not delete your branch before it has been approved — just in case you need to make a change to your pull request before it has been approved.
Trust me on this one.
Conclusion
I hope that this article will make it easier for you to contribute to PnP repositories.
Updates
- April 21, 2020: Thanks to for pointing out that I had made a mistake in my code.
Photo credits
Image by Pete Linforth from Pixabay


2 Comments
Hugo
The line git pull upstream master:coolerest-feature confused me as I am not sure why I would needed.
Also, I guess you could add some guidance as to when to open VSCode and make the changes to the local reop. In my case I tested out my change on a local clone of the master so I will need to retrofit these on to the my forked repo . I guess I made things way more complicated!
Catch you on David’s tenant!
I use GitHub Desktop exclusively since it’s so much easier. Is it worth creating a “mirror” blog post for those users? It just seems sooo much easier pressing a few buttons and letting it do all the commands. Unless I’m mistaken? Thanks!