Hub sites?
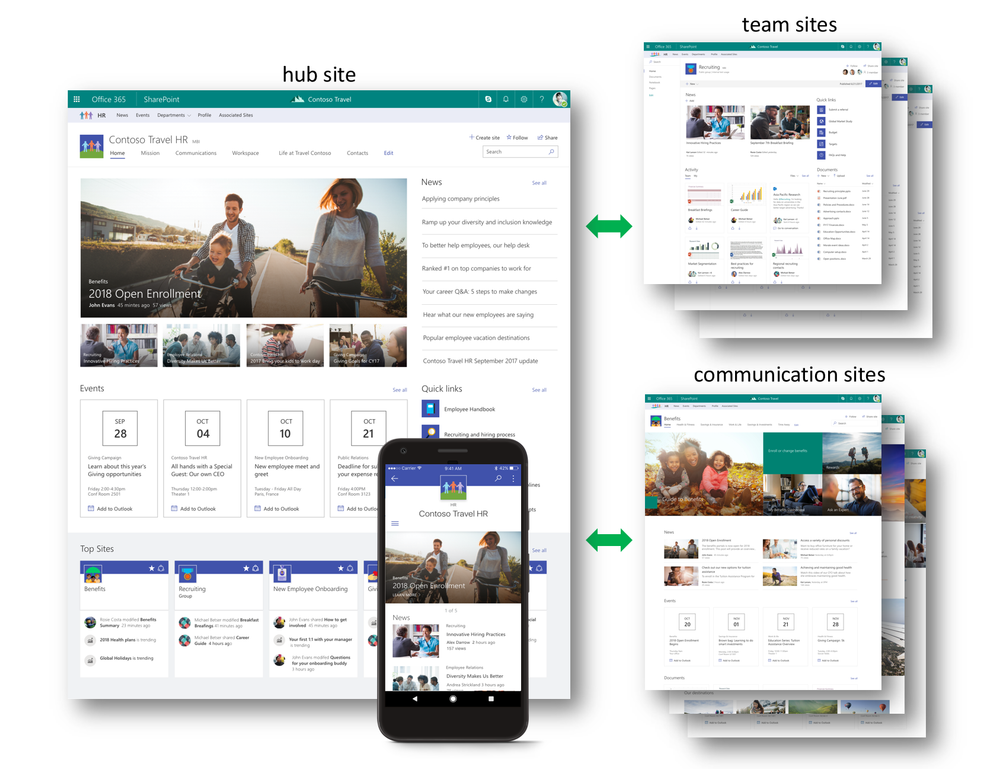
Unless you’re a SharePoint geek like me, you may not have been eagerly waiting for this new feature announced at Ignite 2017 in Orlando. Hub sites are a special site template that allows you to logically group team sites and communication sites under another site, with a shared navigation, theme, and logo.
Hub sites will also aggregate news and activities from any sites associated to it, and you can search within a scope of a hub site and it’s associated sites.
The picture Microsoft used in their announcement explains it best:
The Problem
The typical corporate intranet is often nothing more than a re-hash of the company’s corporate organization structure, blindly copied to a web site accessible to employees. If that intranet is done using SharePoint or Office 365, it’ll consist of a bunch of site collections with some sub-sites.
(By the way, I completely disagree with using the org chart for your intranet structure, but I’ll save it for another blog post).
What happens when your company restructures for (insert official reason here)? Let’s say that you had a whole bunch of Divisions, each with their own site (or site collection) and they completely change the divisions every quarter (like the CEO of a former client of mine liked to do).
What happens when the IT, Finance, and HR team are no longer in the same groups?
You end up having to either:
a) Move sites around, break a lot of people’s favourite shortcuts and links; or
b) Leave everything the way it is and give up hope
Or, you could create a structure that doesn’t need to change with the org-chart-of-the-week by using a flat structure. Since the new modern sites in Office 365, it is a lot easier to create groups, team sites and communication sites in a rather “flat” structure (every site is created in their own site collection, located under https://yourtenant.sharepoint.com/sites/ or https://yourtenant.sharepoint.com/teams/).
So, now you end up with a flat site structure that doesn’t need to change when your information architecture changes again, but there is no easy way to navigate through this flat structure.
You can hack together some sort of global navigation with custom code and/or scripts, but every time someone wants to add a new site, you need to change the code.
The Solution
SharePoint Hub Sites allows you to continue creating a flat structure and logically group sites together in a semi-hierarchical fashion.
There are caveats:
- As of this writing, you can only have up to 50 hub sites on your tenant.
- You can add sites to hub sites, but you can’t add hub sites to hub sites. And don’t get me started about hub sites under hub sites under hub sites.
- You need to be a SharePoint admin to create hub sites, but you can control who can add sites to what hub sites.
- You’ll need to do some Powershell.
Demonstration
We are going to create an Employee Matters hub, which will be the go-to place for employees to find resources related to being an employee of [XYZ Corp].
It will contain the following sites:
- Benefits
- Jobs
- Training
Before you start
Download and install the latest SharePoint Online Management Shell.
Create “Sub” Communication Sites
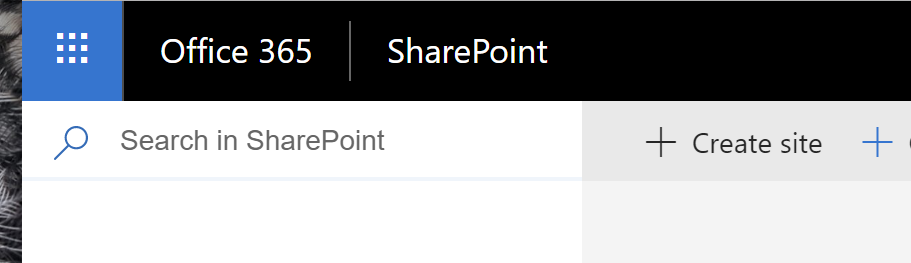
- From your Office 365 environment, create a Communication site by going to the waffle

| SharePoint | Create site.
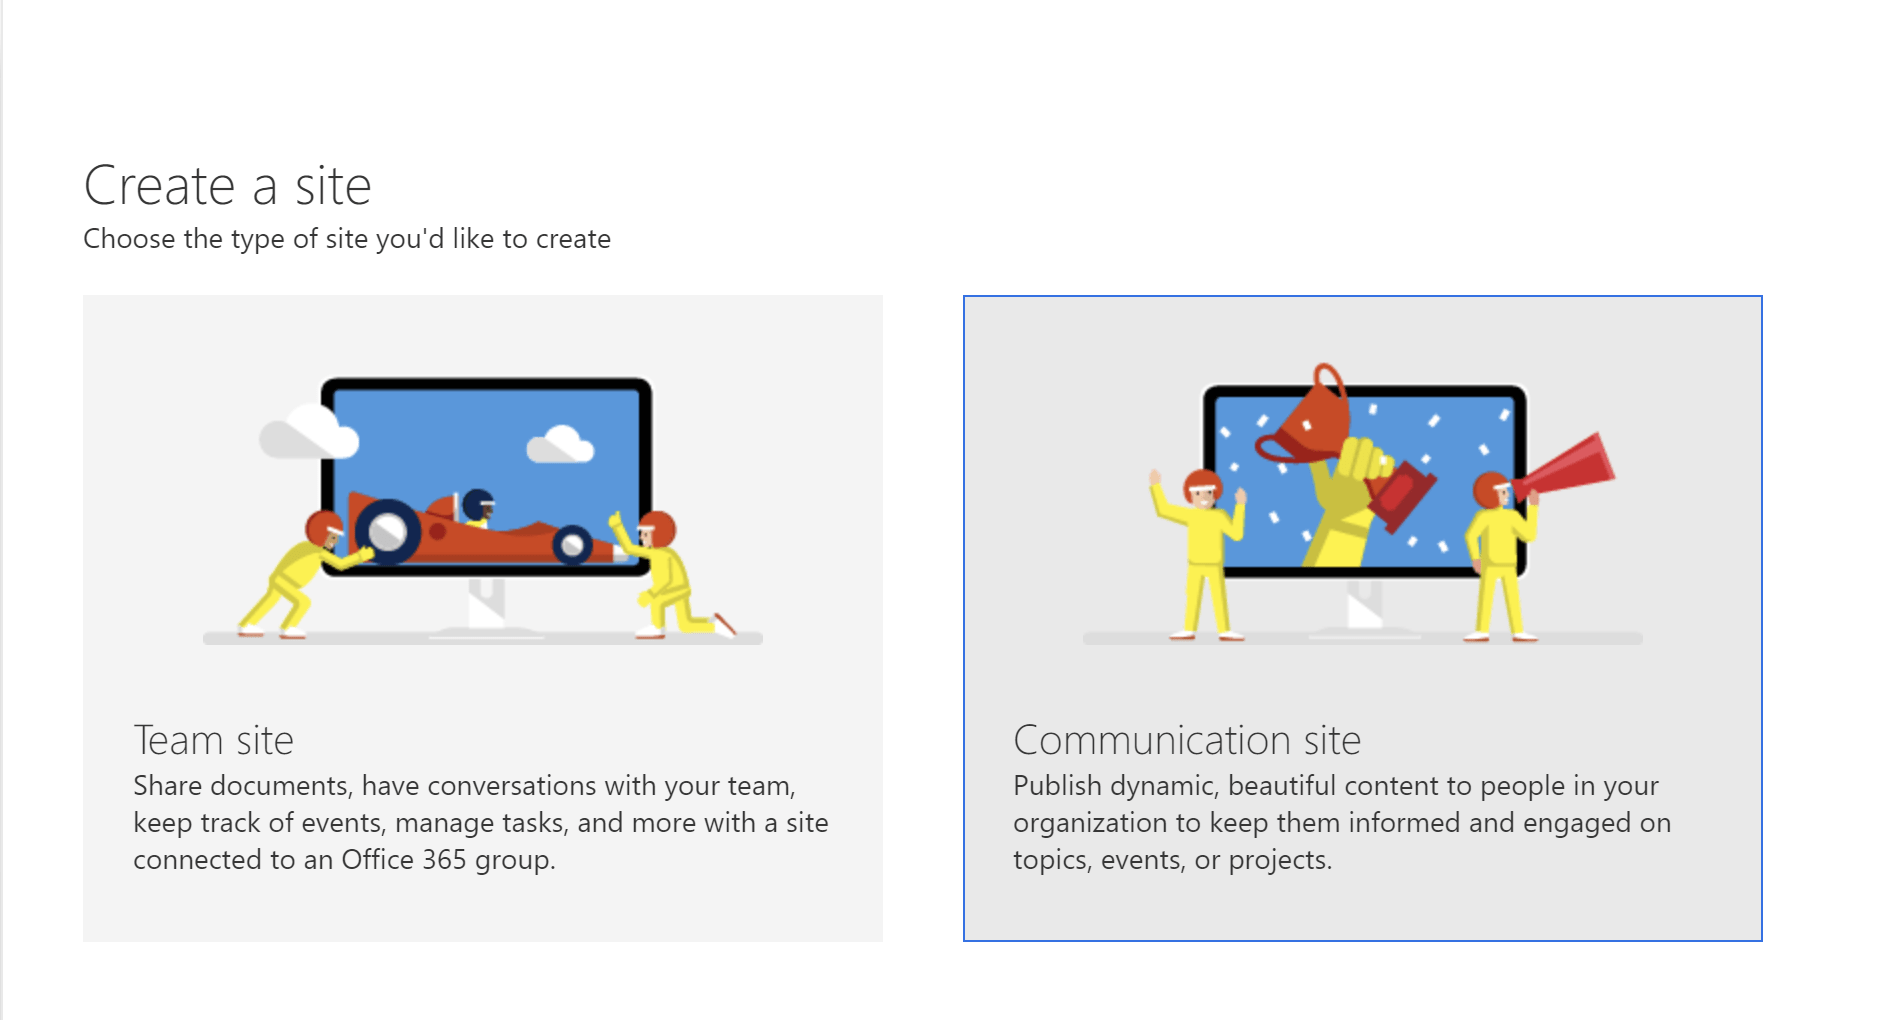
- From the Create site panel, select Communication site. It also works with Team sites.
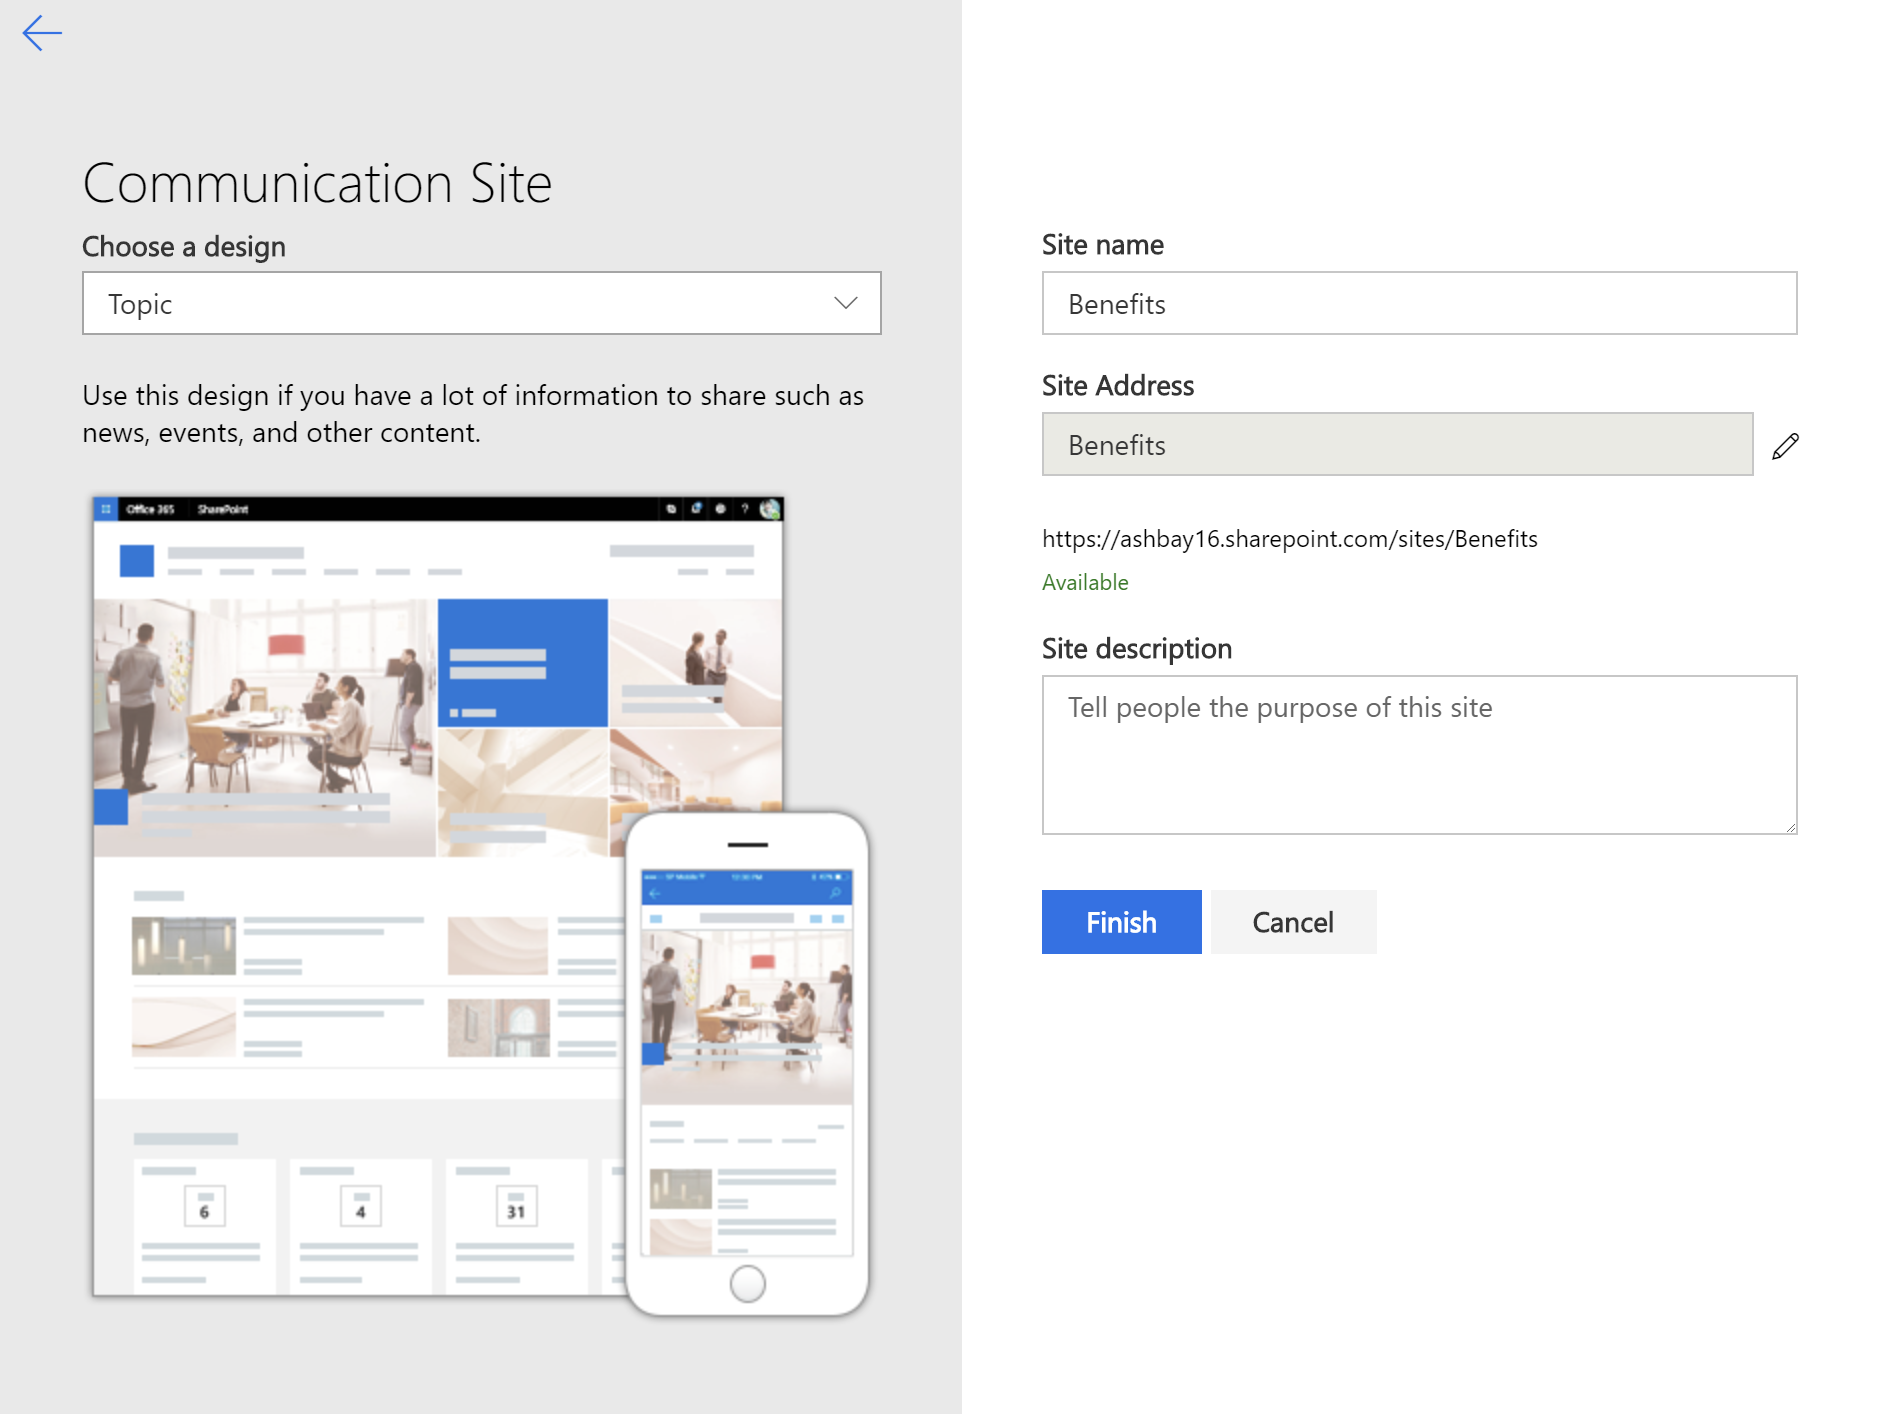
- Choose the Topic layout and name the site Benefits. Give it a description if you’d like. Select Finish.
- Repeat steps 1-3 above with Jobs and Training (or anything else you’d like to do), making sure to remember the url of every site you create (you’ll need to go back to the sites you just created later).
Create a (future) hub site
Repeat steps 1-3 above again, but this time call the site Employee Matters. This will be the site that will be converted to a hub site. Make note of the site’s url.
Register the hub site
- Start the SharePoint Online Management Shell.
- From the PowerShell command prompt, type:
Connect-SPOService -url https://-admin.sharepoint.comwhere is your own SharePoint tenant. Note that we’re connecting to the Admin site, not the regular .sharepoint.com site.
- Once connected (you’ll be prompted to login, probably), type:
Register-SPOHubSite -site https://.sharepoint.com/sites/employeematters…making sure to use the url of the Employee Matters you created earlier. Note that this time, we are not using the -admin.sharepoint.com domain, just the regular .sharepoint.com domain.
- If all goes well, you’ll get something like this:
ID : 2be153d3-0fe8-4fb8-8fa0-b41dfdd8bd3f Title : Employee Matters SiteId : 2be153d3-0fe8-4fb8-8fa0-b41dfdd8bd3f SiteUrl : https://.sharepoint.com/sites/EmployeeMatters LogoUrl : Description : Permissions : - Memorize the GUIDs. Just kidding! You can pretty much ignore the response — as long as it didn’t start spewing red text, you’re doing fine.
At this point, if you got an error saying Register-SPOHubSite is not a valid command, you probably haven’t installed the latest version of the SharePoint Online Management Shell.
If it gives you an error saying that hub sites aren’t yet supported, go have a big nap and try again tomorrow.
You can go visit your newly created hub site. It should look like this:
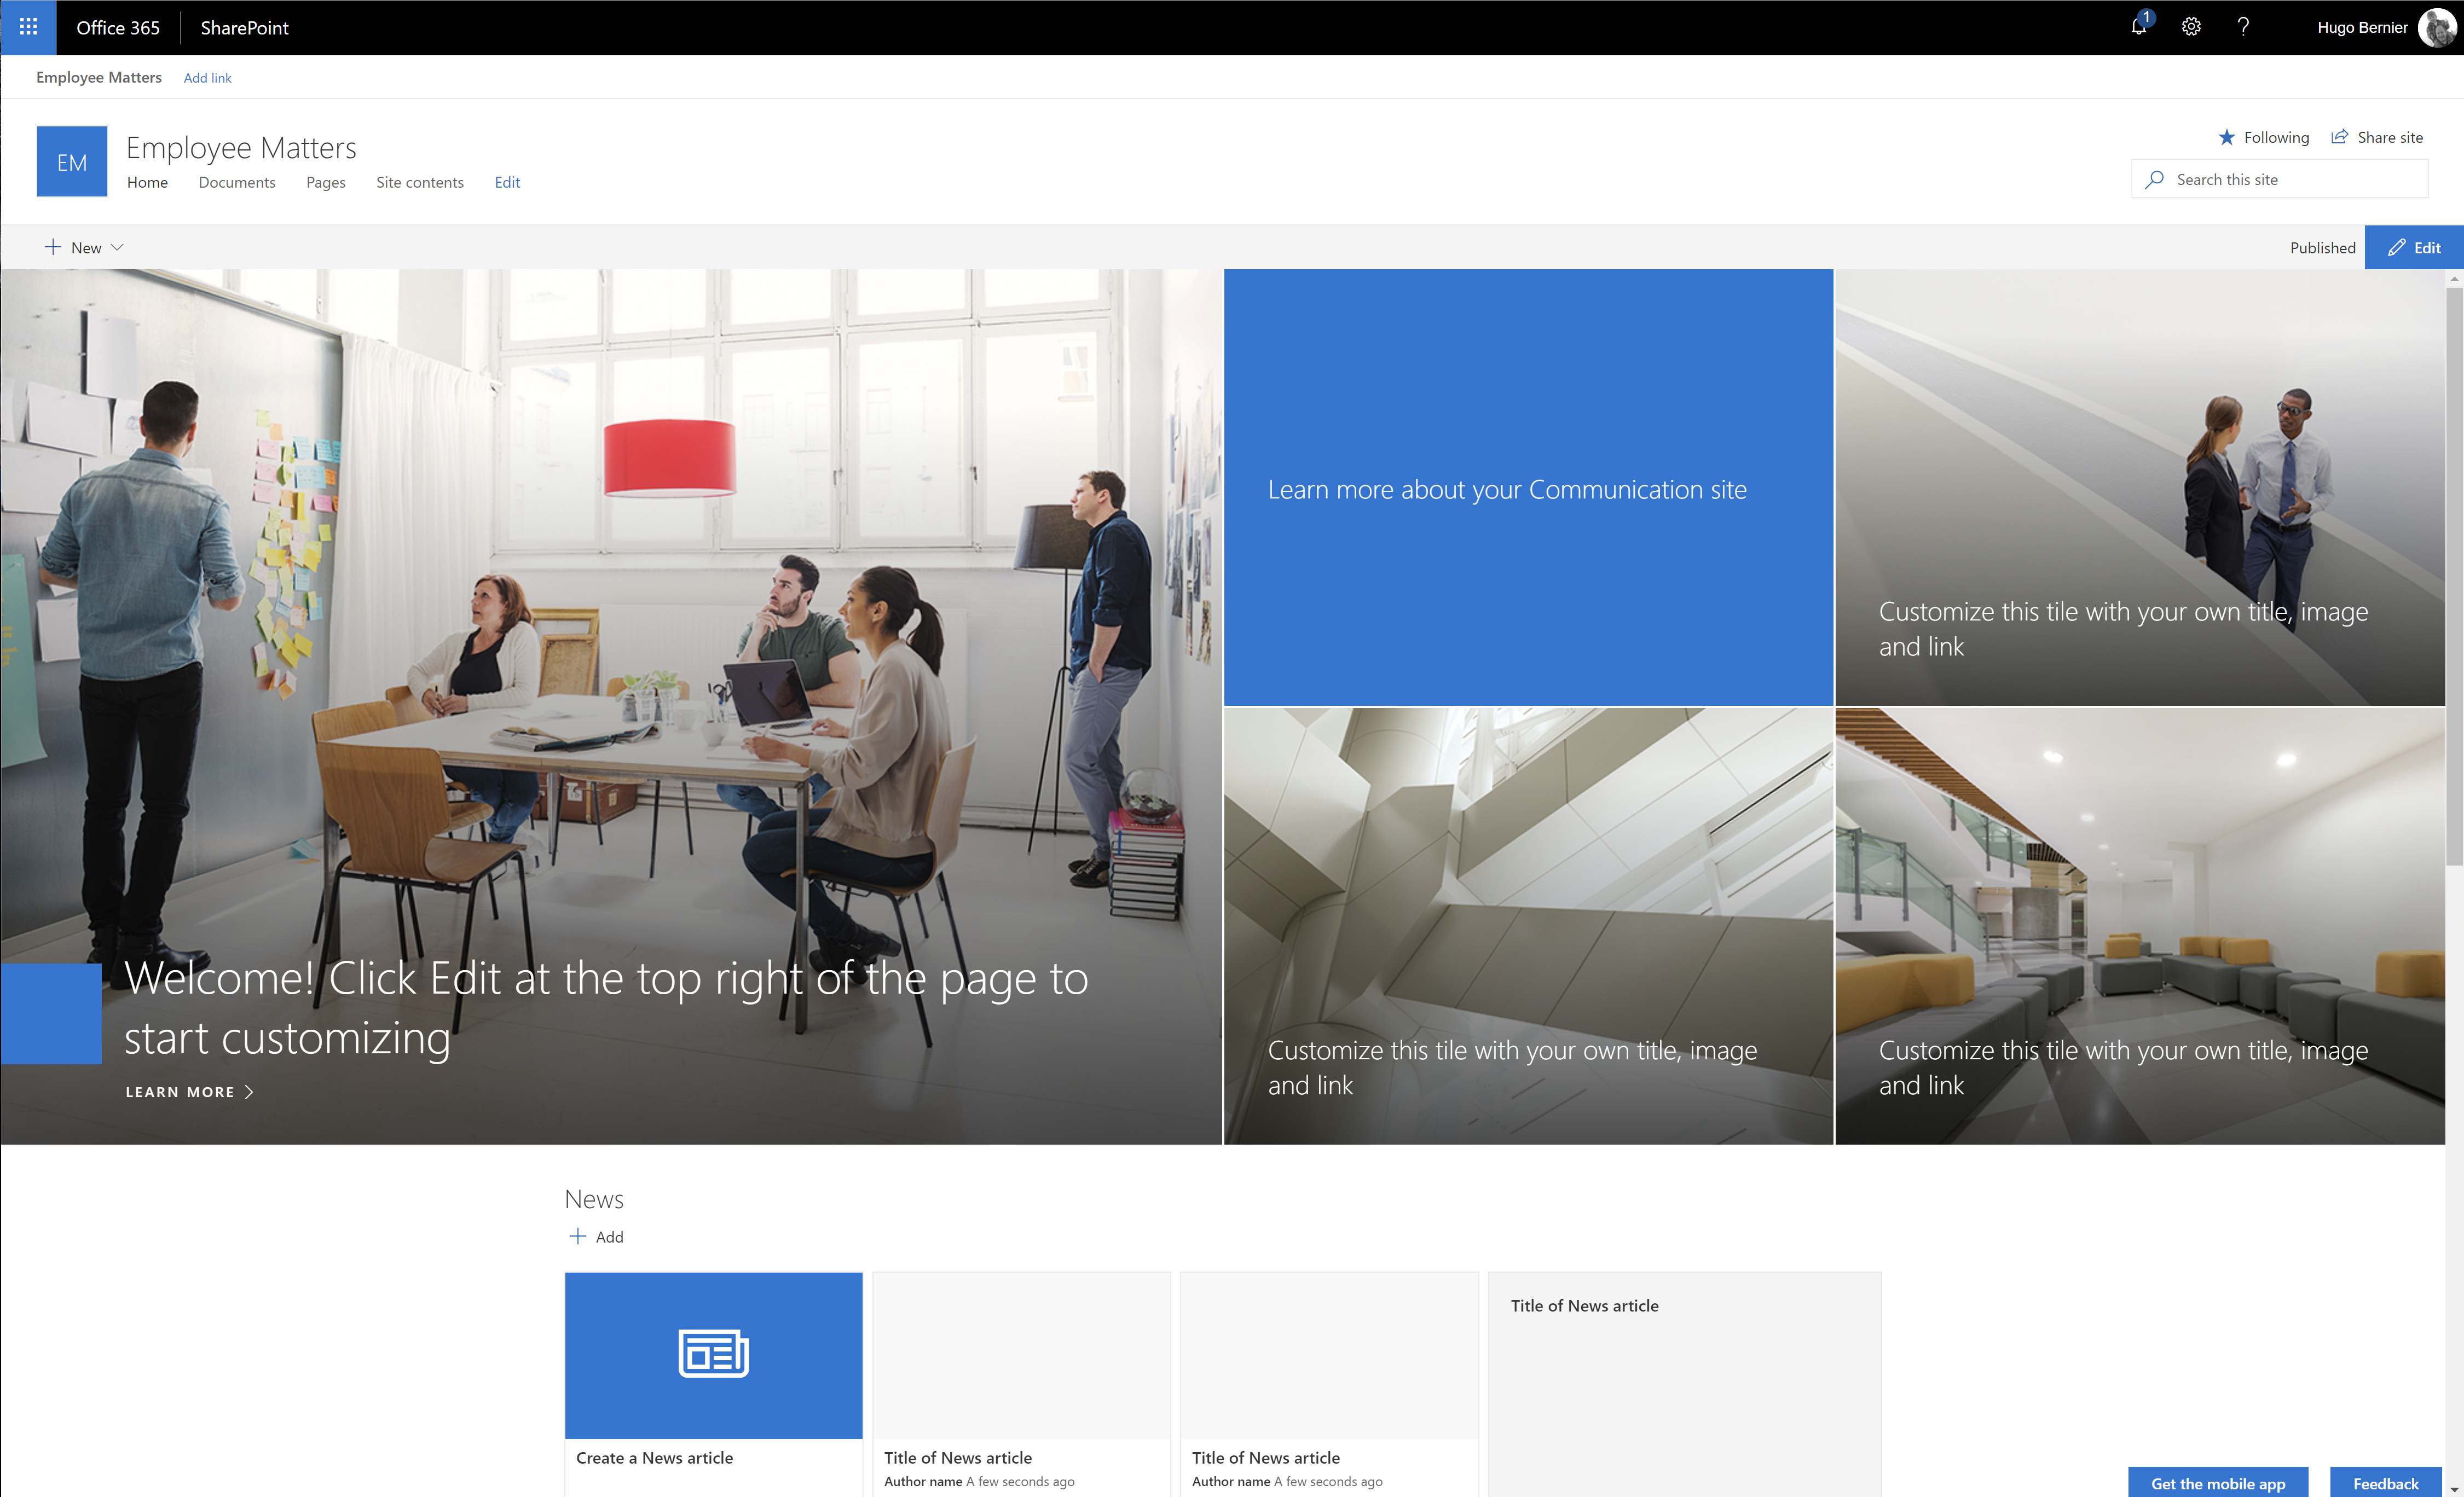
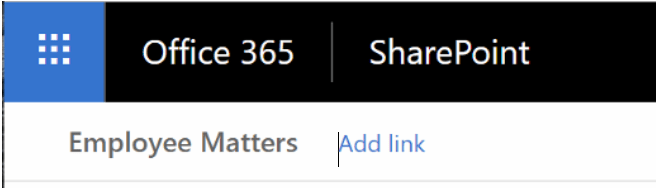
It doesn’t look much different than any other communication site, but it has an extra navigation bit at the top:
If your site hasn’t updated yet, wait a little bit. Some of the changes take up to 2 hours, but every time I have done this, it was instant.
Optional: Set your hub site icon and description
You don’t have to do this, but it is generally a good idea to label your sites and give them a custom icon. To do so:
- Upload an icon of your choice to a library of your choice (for this demo, I created a document library called Site Assets in the Employee Matters site). Make note of the url to the icon. The icon should be 64×64 pixels.
- From the SharePoint Online Management Shell thingy, enter the following:
Set-SPOHubSite -Identity https://.sharepoint.com/sites/employeematters -LogoUrl https://.sharepoint.com/sites/employeematters/site%20assets/employeemattersicon.png -Description "Find resources for employees"Making sure to replace the LogoUrl for the url to the icon you want (and making sure that you put whatever description you want for the site hub).
- Your site hub will eventually get updated. Go take a look.
By the way, there is a user interface to change the site hub logo, but there isn’t one to change the description. You can get to it by following these steps:
- Using your browser, go to your site hub.
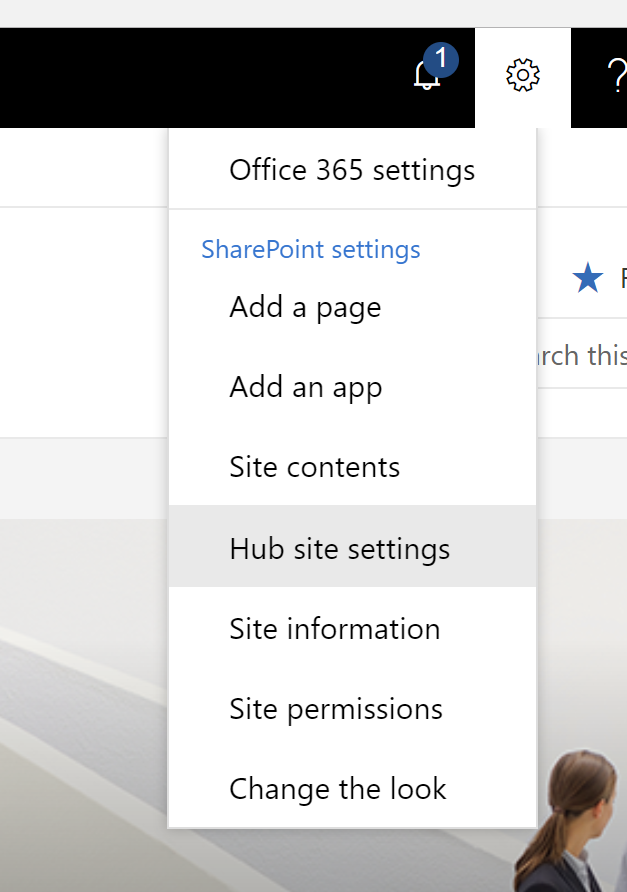
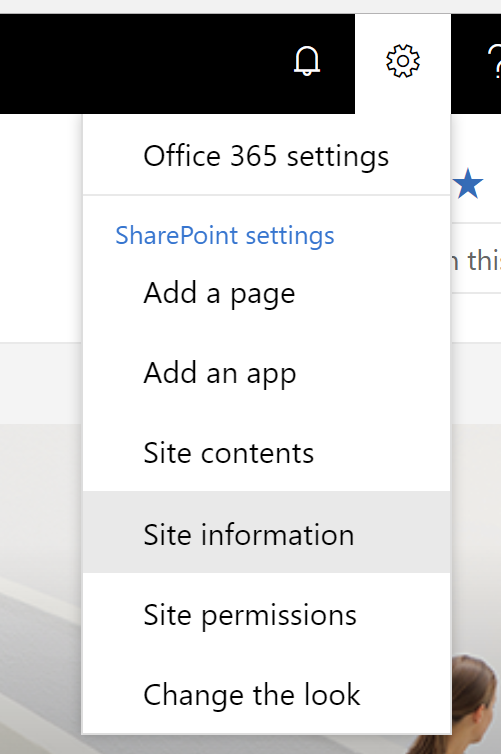
- From the site hub home page, select the settings gear and select Hub site settings
- From the Edit hub site settings pane that appears, you can change the icon or the site hub title. Not the description.

- Select Save and your changes will (eventually) be reflected.
Associate “sub” sites to hub site using your browser
- Go to the Benefits site you created what seems like a million years ago.
- From the settings gear icon, select Site information
- From Edit site information pane that appears, select the Employee Matters hub site from the Hub site association, then select Save.
Note tha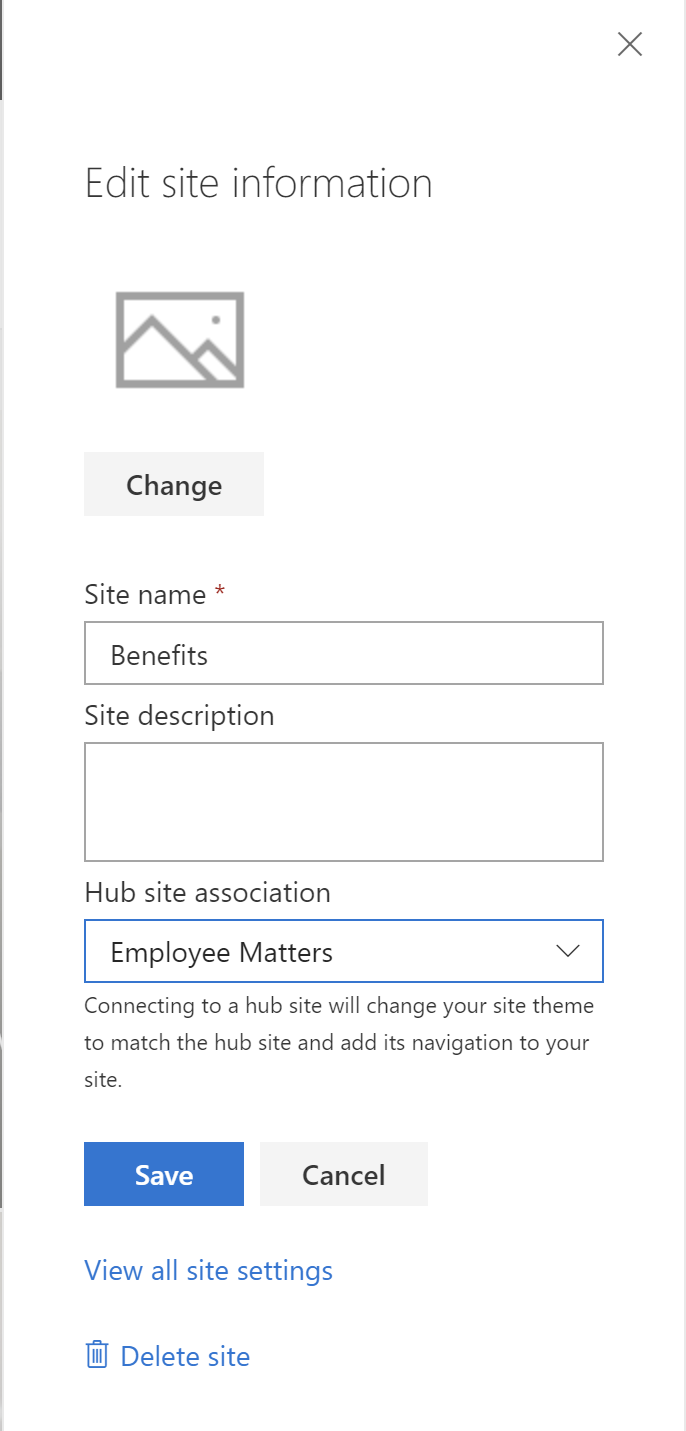 Note that, in real life, only users who have been granted the rights to join a site will be able to do this — but that’s another blog post. Also, note that changing the hub site will change the site theme to match the hub site and add its navigation (as is clearly indicated on the Edit site information pane).
You should notice that your Benefits site will now have the Employee Matters navigation added at the top. That means it worked.
Associate “sub” site to hub site using PowerShell
- From the SharePoint Online Management Shell, enter the following:
Add-SPOHubSiteAssociation -Site https://.sharepoint.com/sites/Jobs -HubSite https://.sharepoint.com/sites/EmployeeMatters
It will associate the Jobs site to the Employee Matters hub. Note that the -Site parameter is the site you want to add to the hub site, while the -HubSite parameter is the hub site.
Use either the PowerShell method or the browser method to add the Training site to the hub site.
Add links to the hub site navigation
The sites associated to your hub site now sport the new fancy hub site navigation, showing Employee Matters, but you’ll notice that the navigation did not get updated to show the newly associated sites.
To fix this:
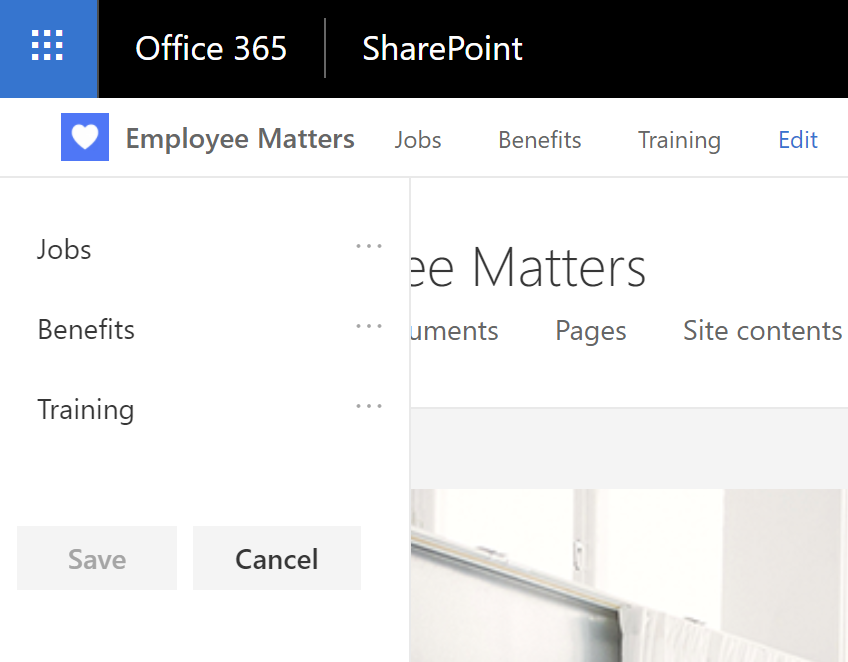
- Go to your hub site’s home page. You can do so by clicking on Employee Matters from any of your associated sites.
- From the hub navigation (top left corner of the hub site, where it says Employee Matters) select Edit.
- From the navigation editing pane that appears, select the + button to add a new link.

- In the Add a link pop-up that appears, enter the url to the Jobs site in the Address field, and type in Jobs for the Display name, then select OK.
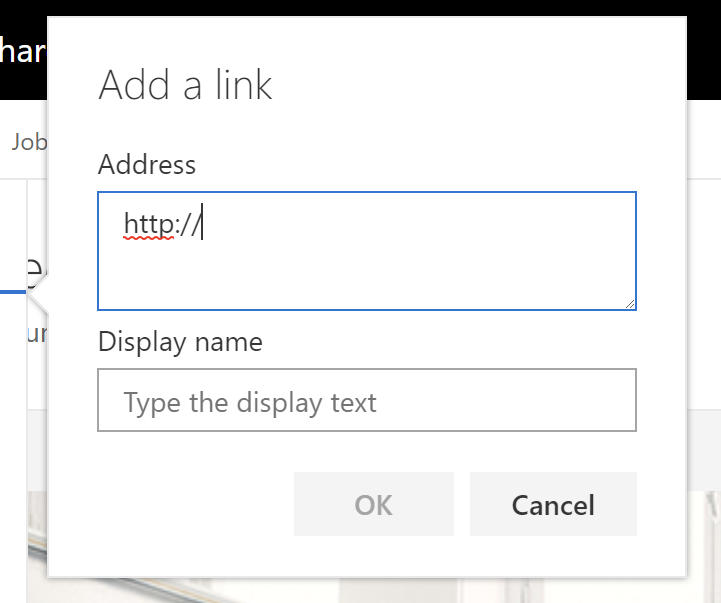
- Repeat until you have added Jobs, Benefits, and Training then hit Save.
Your hub navigation will contain links to each associated site.
News, activities and search results from the hub home will include results from all associated sites, provided that the current user has permissions to each site. It takes a while before the results appear, but they will!
Conclusion
Hub sites are going to be a great addition to SharePoint in Office 365. They aren’t going to solve every navigation issues, but they are certainly a step in the right direction.
There is still a lot to cover with theming and security, but that’s probably enough for today.


