
Introduction
Power Automate allows you to create automated workflows that help you streamline your business processes on focus on what really matters.
You can do this by combining building blocks known as "connectors".
There are several hundred connectors to pick and choose from: you can send emails, connect to databases, call custom APIs, connect to Dynamics, SharePoint, Planner, etc.
In fact, there are so many connectors at your disposal that you may never have noticed one connector that allows you to generate Word documents by inserting dynamic data into Word templates.
In today’s post, I’ll explain how to use the Word connector in Power Automate to generate some documents. It’ll be useful any time that you have a business process that needs to send a letter, generate a contract, or produce any sorts of documentation that needs to be printed and/or signed.
Prepare your template
The first thing you need is a Word template.
For this article, I’ll use a standard Word template, but you can follow my instructions with your own template.
Let’s get started by using the following steps:
- From within Word, select File > New

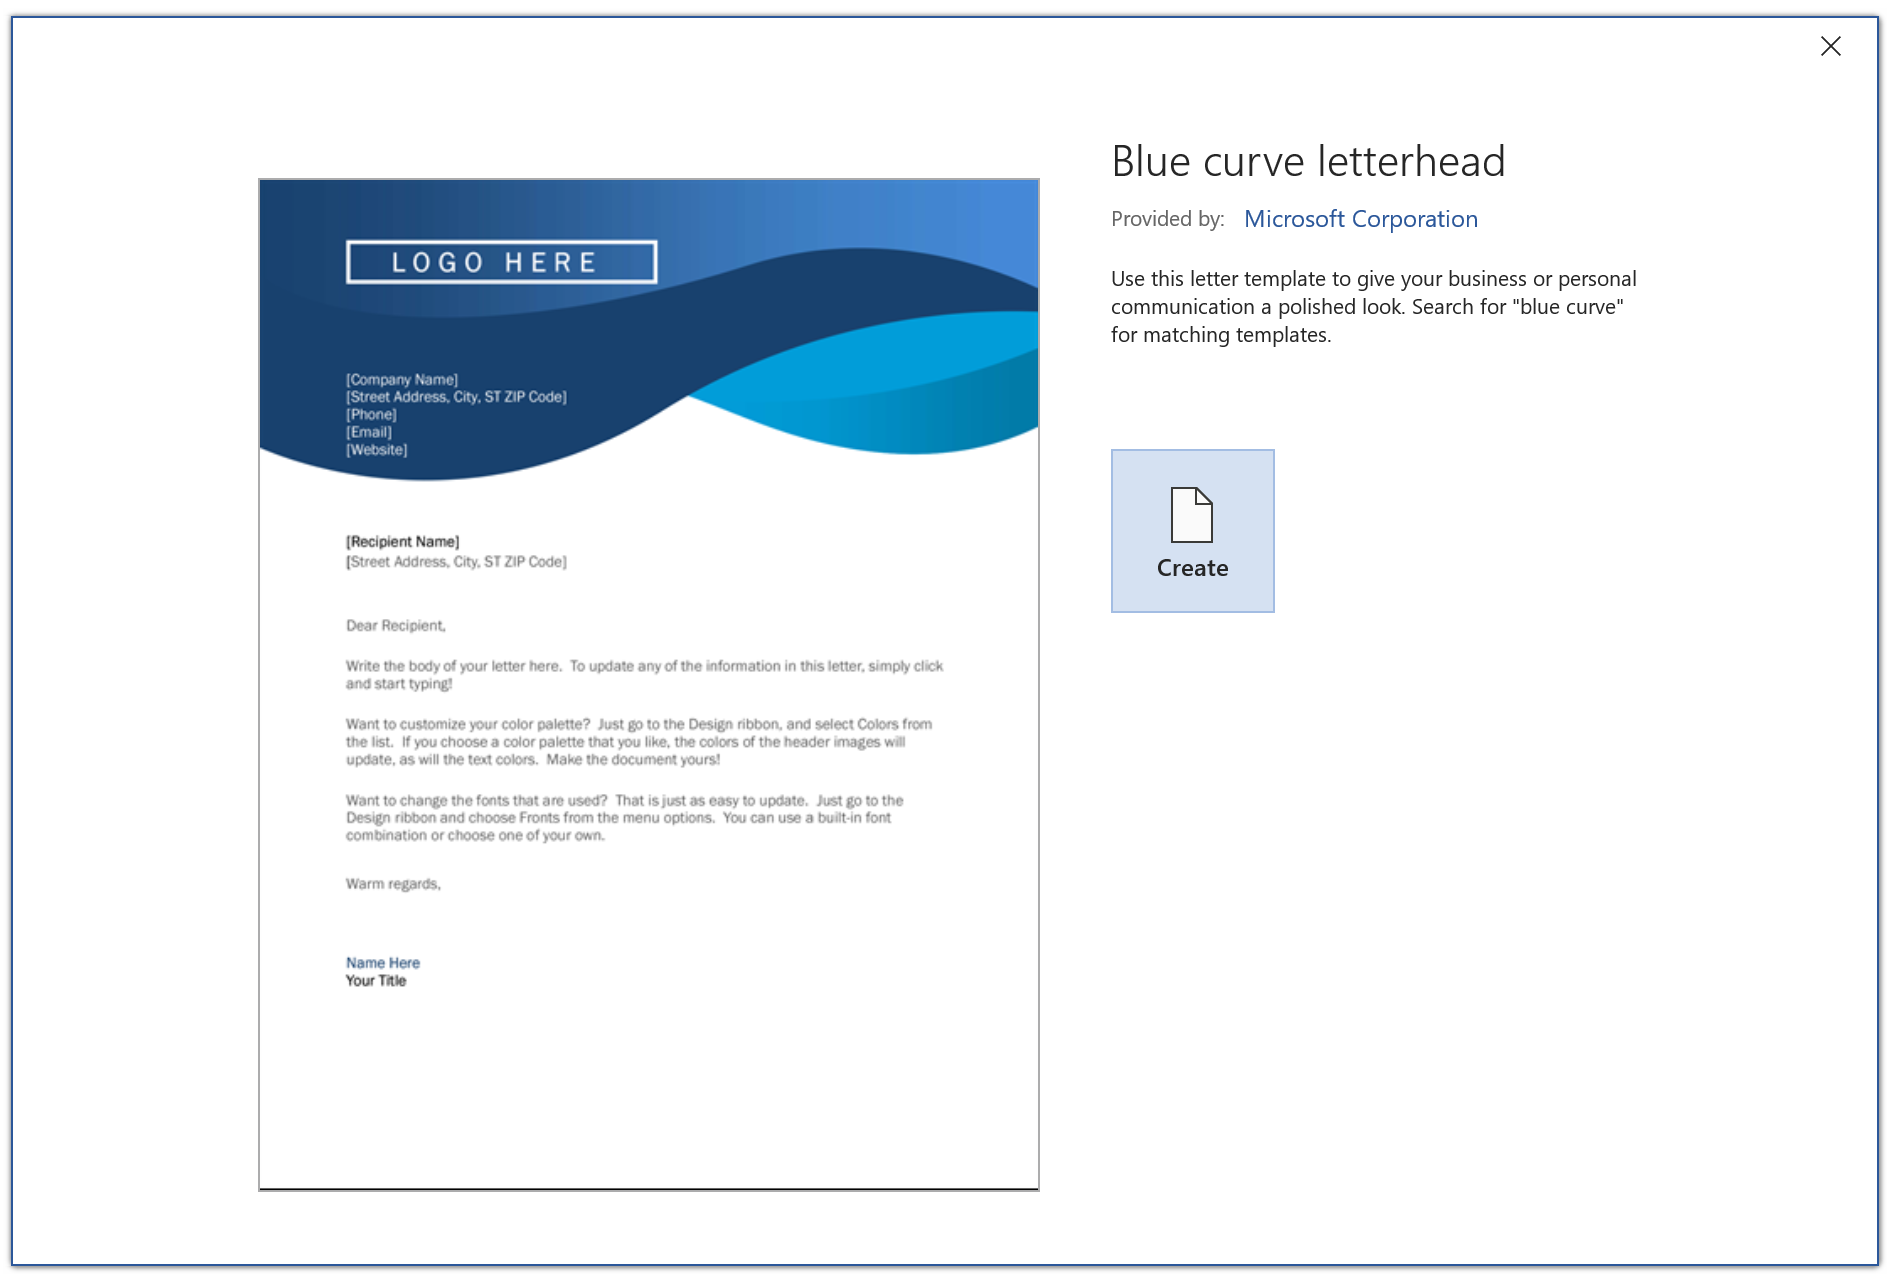
- From the list of templates that are available, search for the template you’d like. For this sample, I’m using Blue curve letterhead because I’m too lazy to write my own template.
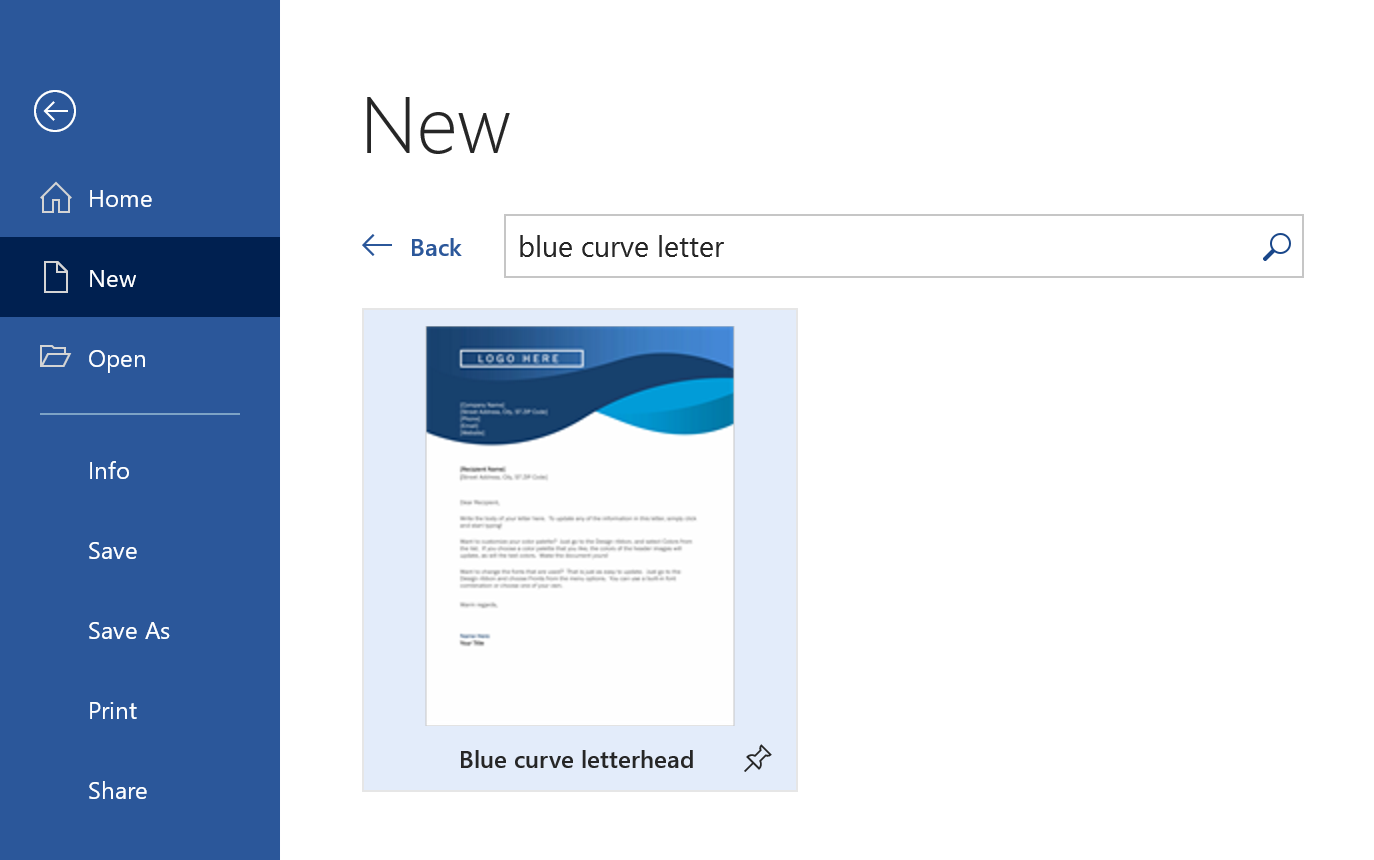
- It will give you a preview of the template. Just click Create to create a new document from that template. If you prefer, you can use a new blank document and copy and paste your existing template. I’m not picky.
- To insert content dynamically inside your template, you’ll need to create some Content controls. Content controls allow you to define areas within a Word document that you want to make editable. The Blue curve letterhead template already has content controls, but we’ll define some custom ones as well.
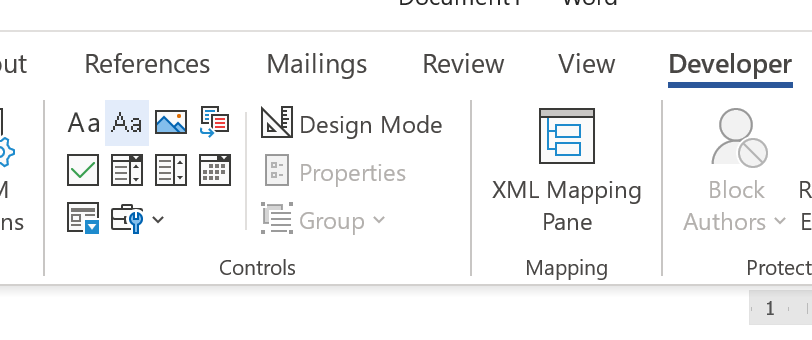
- To insert content controls, you need to use the Developer tab. If you already see the developer tab, skip to step 8.
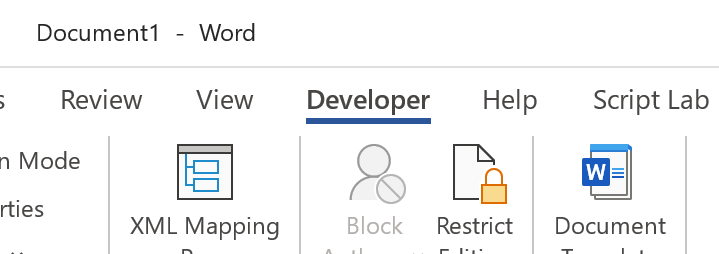 .
. - If you don’t see the Developer tab, right-click on a blank area of your Word ribbon, and select Customize the Ribbon…
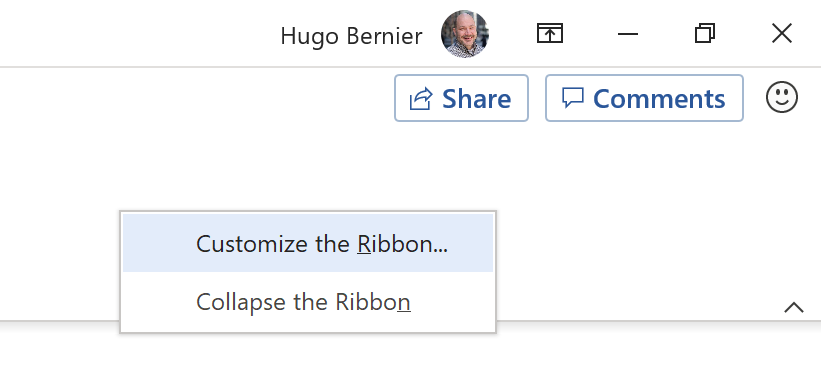
- In the Customize the Ribbon and keyboard shortcuts dialog, find the Developer tab on the right side of the dialog (under Customize the Ribbon) and check it, the select OK.

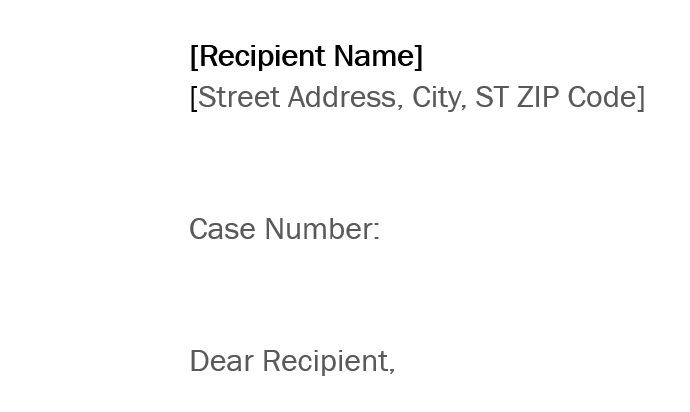
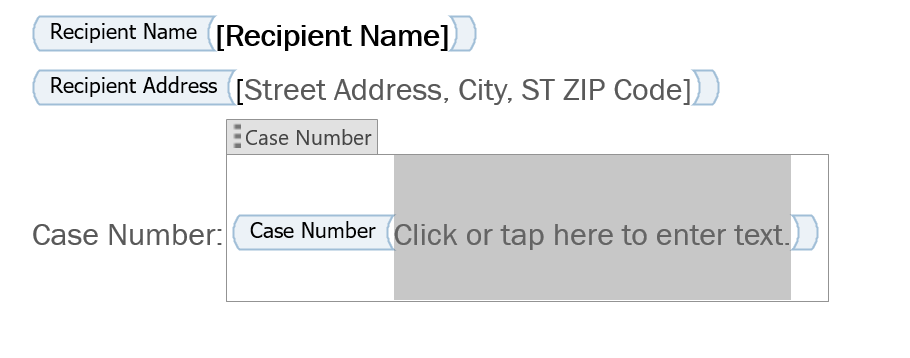
- Let’s insert a custom content control in our template. For this example, we’ll pretend that we want to specify a case number in our letter. From your Word document, find the line between the [Recipient Name], [Street Address, City, ST ZIP Code] and Dear Recipient and insert a new line, then type Case Number:.
- Position your cursor to the right of Case Number: and, from the Developer tab, select Plain text control.
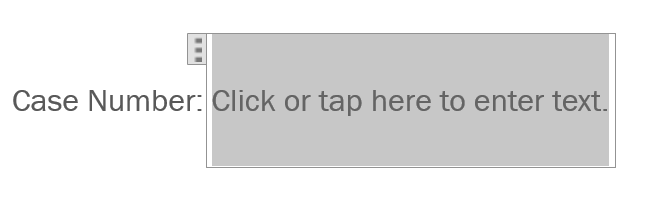
You should see a new content control appear where your cursor was:
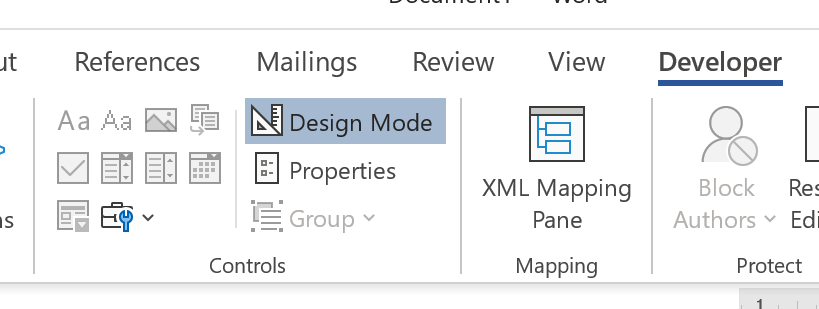
- To change the prompt text for your Case Number placeholder, select Design Mode from the Developer tab
- Word will highlight the content controls in your document. Replace Click or tap here to enter text with [Case Number]. You can also control the text format if you wish to do so.
- If you’re up to it, replace the placeholder text in the other content controls in your template. 13. To get out of the Design Mode, click it again in the ribbon. The placeholders should hide again.
- Select the [Case Number] content control and select Properties from the Developer tab.
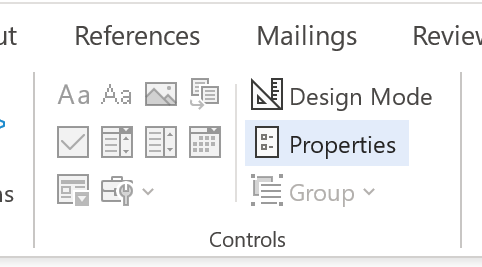
- In the Content Control Properties dialog, change the Title to Case Number then click OK.
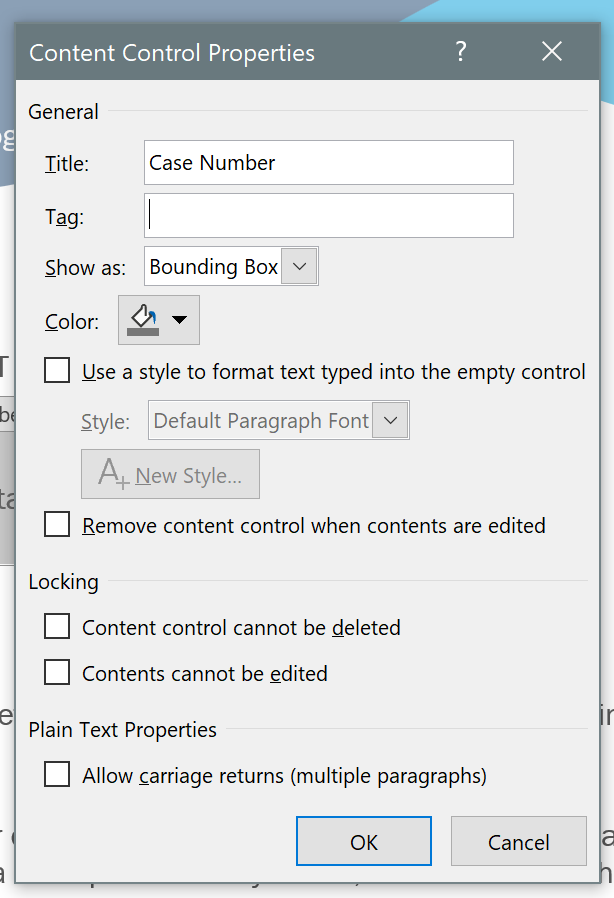
- Repeat setting the content control properties for all the content controls or they won’t appear as dynamic fields to populate in Power Automate.
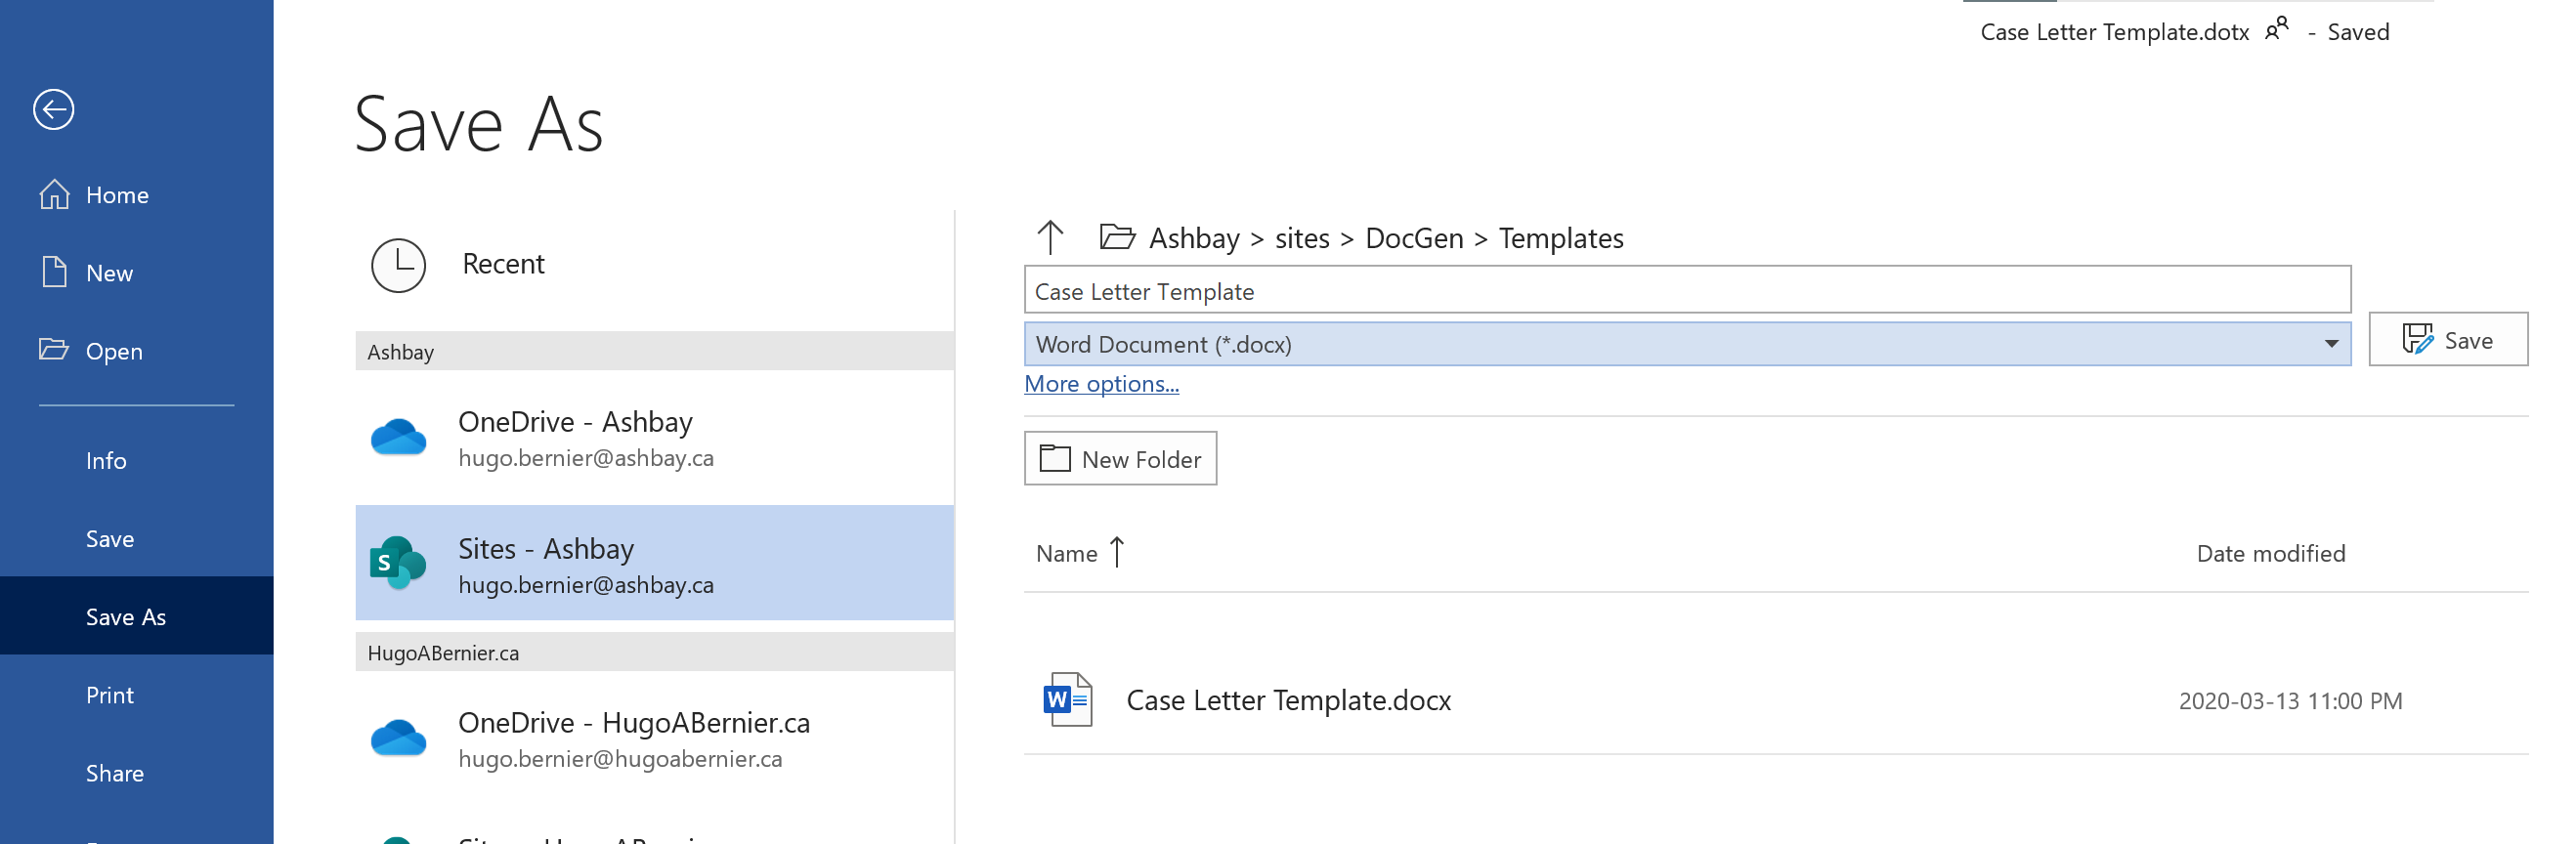
- When your template is ready, you’ll need to save it as a Template (dotx), and you’ll need to save it where Power Automate can find it. I like to store my templates in a SharePoint document library that I’ve pre-created (called Templates — I know, super original). To do so, use the Word File then Save As menu, then select your desired SharePoint site and document library then click Save.
I named mine Case Letter Template, if you’d like to know.
Once your document is saved as a template on a SharePoint site, we’re ready to create the workflow in Power Automate.
Prepare your Flow
Let’s create a Flow in Power Automate.
In a real-life scenario, you’d probably want a change in your systems to trigger a document generation — a new record in Dynamics 365, a record change in Common Data Services, or a new record in SharePoint for example.
However, to keep this example simple, I’ll use a simple manual trigger that we can call at any time.
To do so, follow these steps:
- Go to https://make.powerapps.com/
- In the left navigation, selec Flows
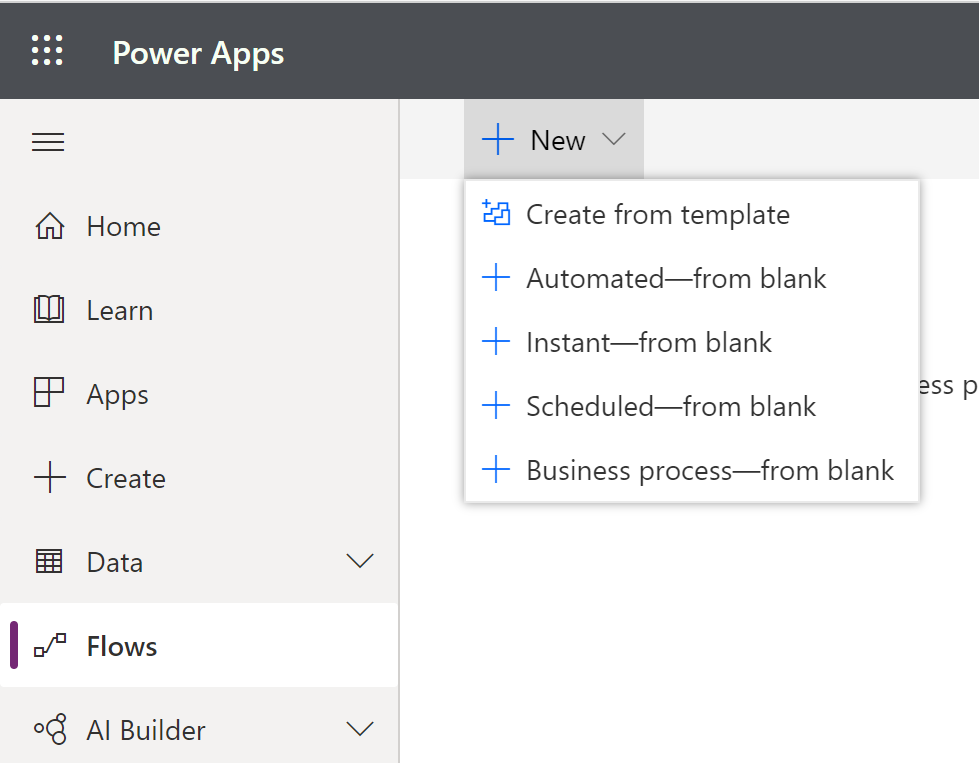
- From the + New menu, select Instant — from blank. Again, you can choose the best trigger for your own specific needs.
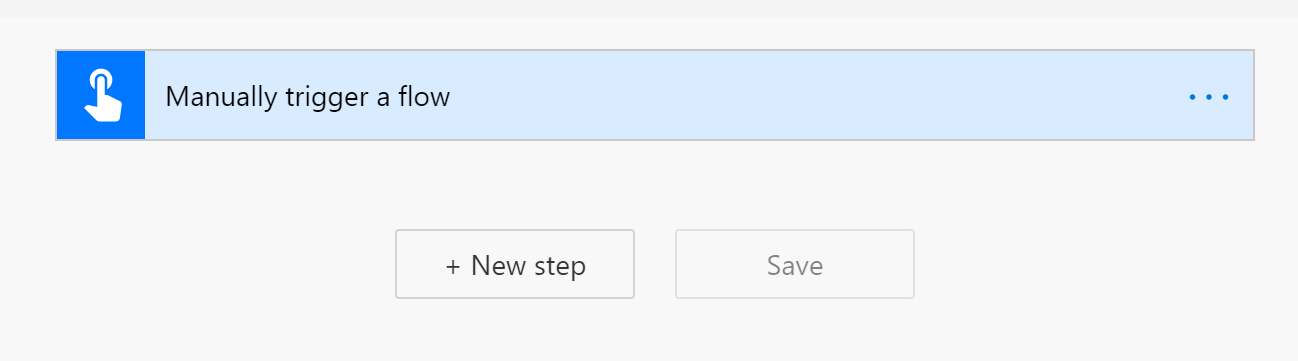
- From the Build an instant flow dialog, specify a name (e.g.: Generate Case Letter) and select Manually trigger a flow under Choose how to trigger this flow, then click Create.

- In your new flow, select + New step.
- In the Choose an action box, type Word and select Word Online (Business)
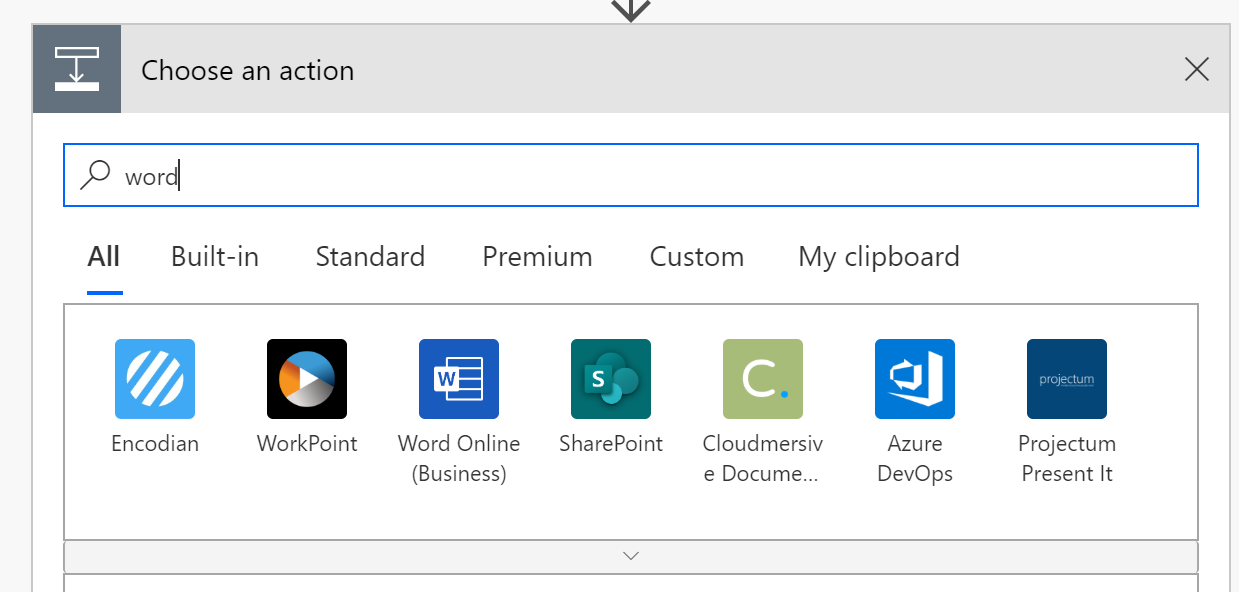
- From the list of actions that appear, select Populate a Microsoft Word template

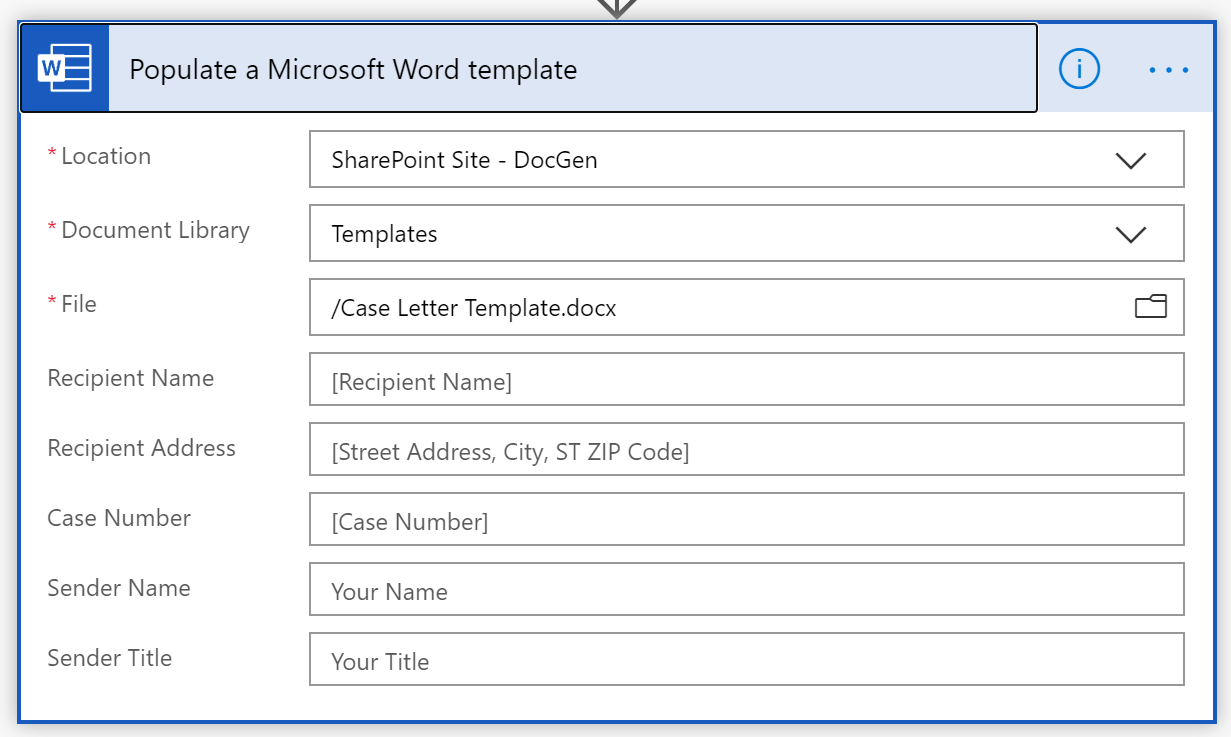
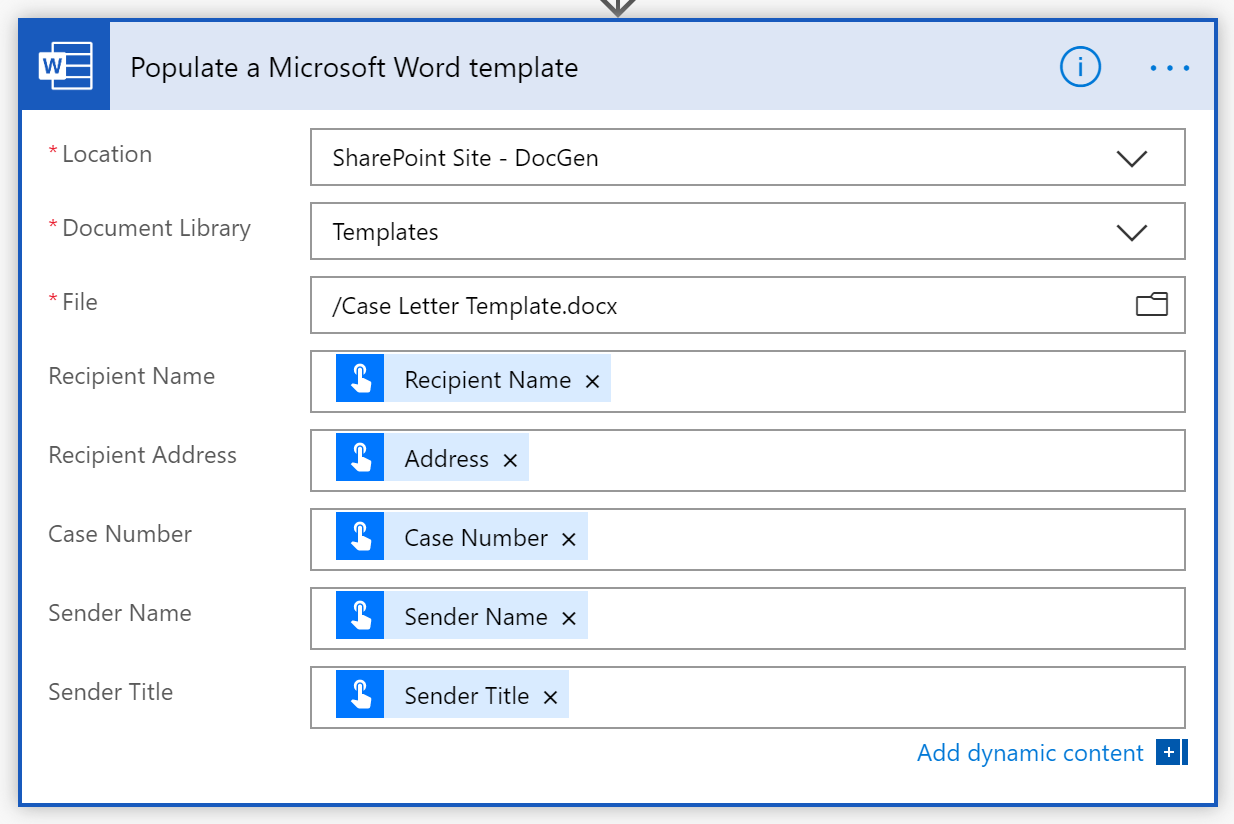
- In the new Populate a Microsoft Word Template action, select the SharePoint site (or Group) where you saved your document, the Document Library where you stored the template, and pick the template from the file picker.
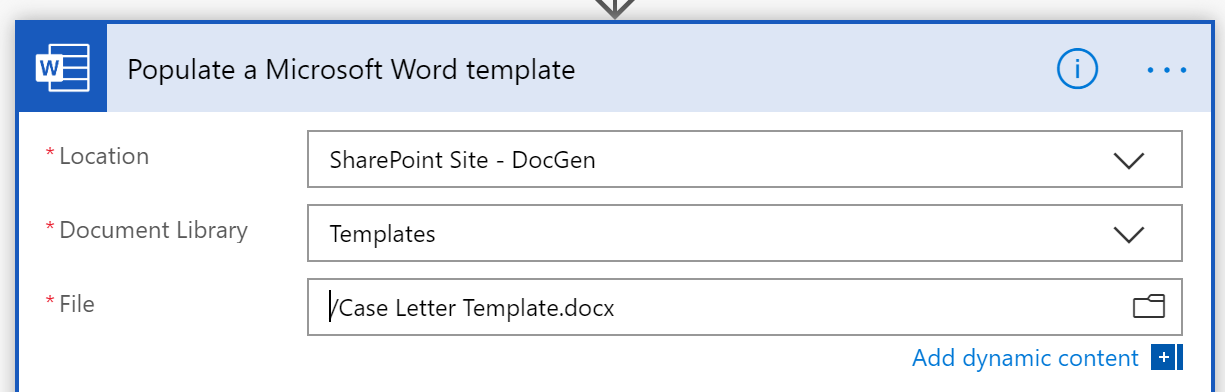
If you can’t find the document you’ve saved, make sure it isn’t still open in Word and try changing the site or the Document Library. - When you pick the proper template, the action dialog will change to display the various content controls. Note that it displays a dynamic value for each content placeholder you created.
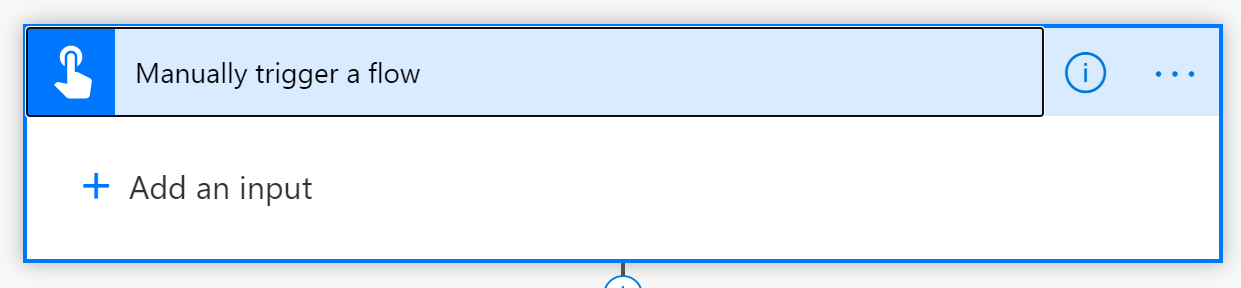
- In a real production system, you’d probably want to retrieve your template data from your existing systems — like Dynamics 365, Common Data Services, or a database. for this article, we’ll just prompt for it when we launch the workflow. To do so, select the Manually trigger a workflow box to expand it
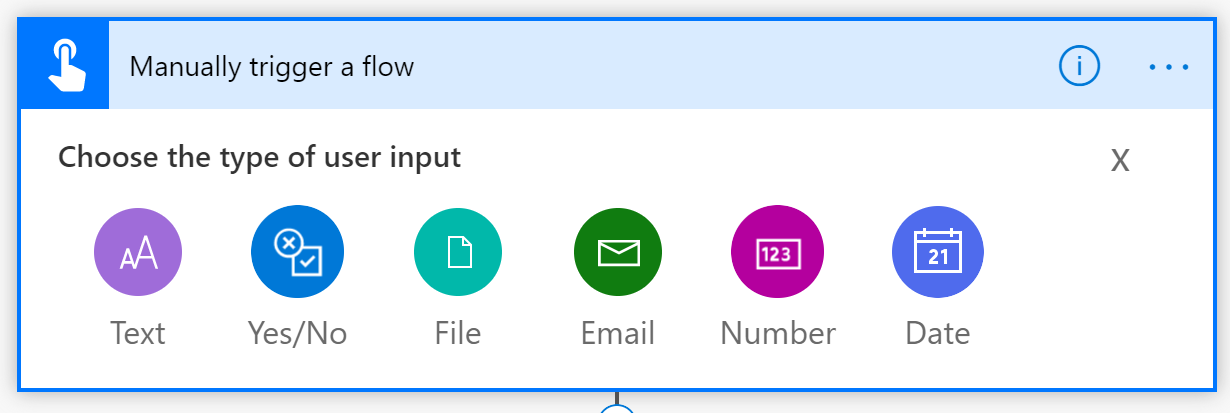
- From the Manually trigger a workflow box, select + Add an input and select Text when prompted to Choose the type of user input
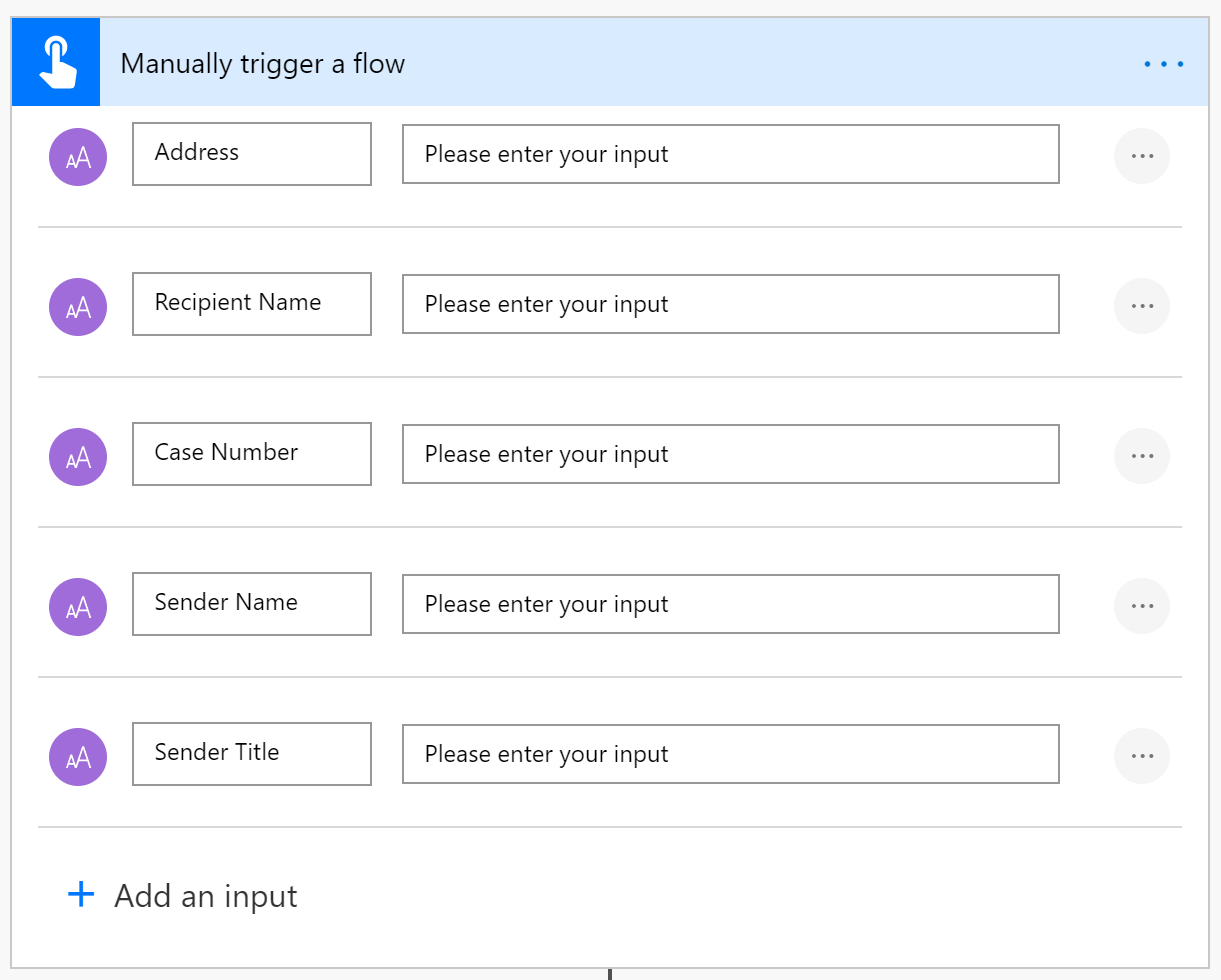
- In the new Input field that is created, type Address.
- Repeat adding new inputs for Recipient Name, Case Number, Sender Name and Sender Title
Note that I’m trying to keep this sample as simple as possible. In real life, I’d probably want to pick the name of the sender from the current context, and I’d get the title from the user’s properties. I’d probably also use a separate field for address 1, city, state, zip. - Now go back to the Populate a Microsoft Word template and, for each placeholder, insert the matching dynamic values from the trigger inputs.
We’re almost done! In our next step, we’ll store the newly generated document in a SharePoint library.
Saving the generated document
The Populate a Microsoft Word template action generates the document, but it doesn’t do anything with it. It’s up to you to save it somewhere, convert it to PDF, or email it.
For our sample, we’ll use the SharePoint Create file action by following these steps:
- Below the Populate a Microsoft Word template action, select + New step
- In the Choose an action dialog, type SharePoint and select Create file from the list of possible actions.

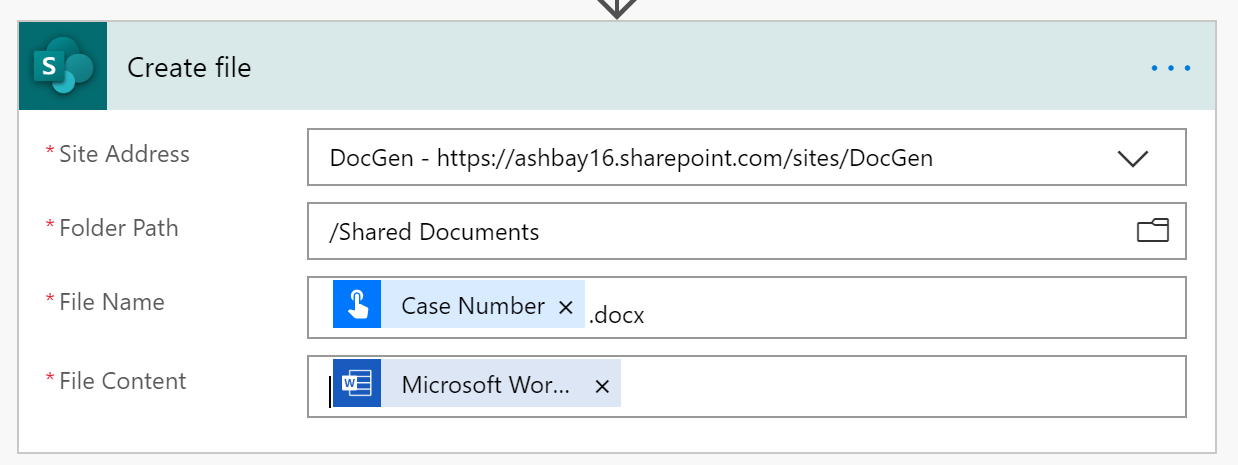
- In the newly created action called Create file, select the Site Address where you want to store the document, and the Folder path for the document library where the newly generated documents will go.
- For the File Name, use the Case Number dynamic value from the trigger.
- For the File Content, use the Microsoft Word Document from the Populate a Microsoft Word Template action.
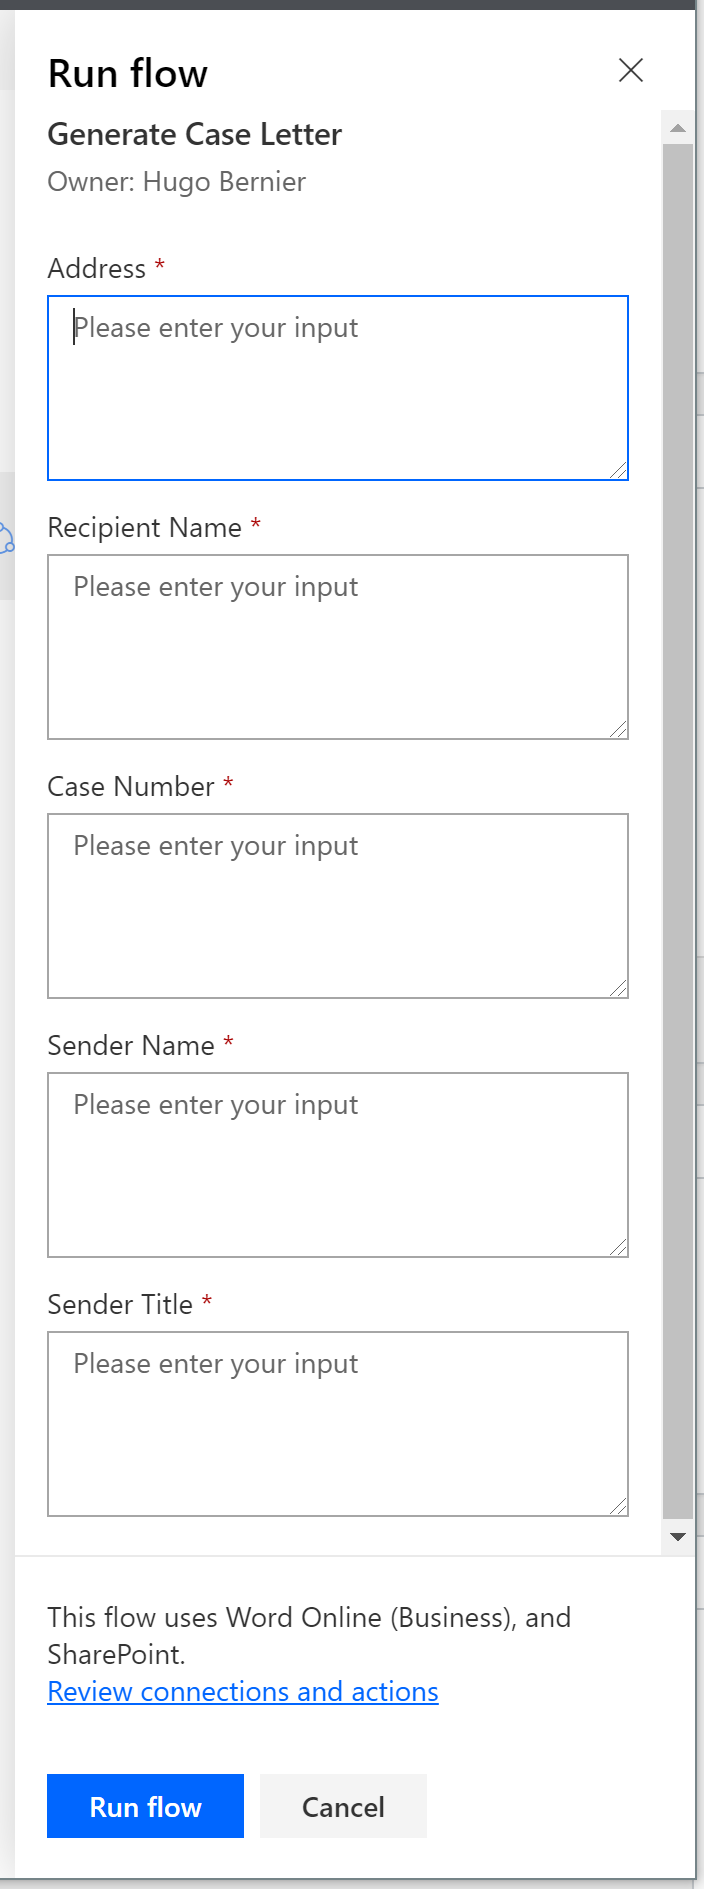
That’s it! Now we just need to test the Flow by selecting Save and Test. When prompted to enter values, go ahead and enter some text values and click Run flow
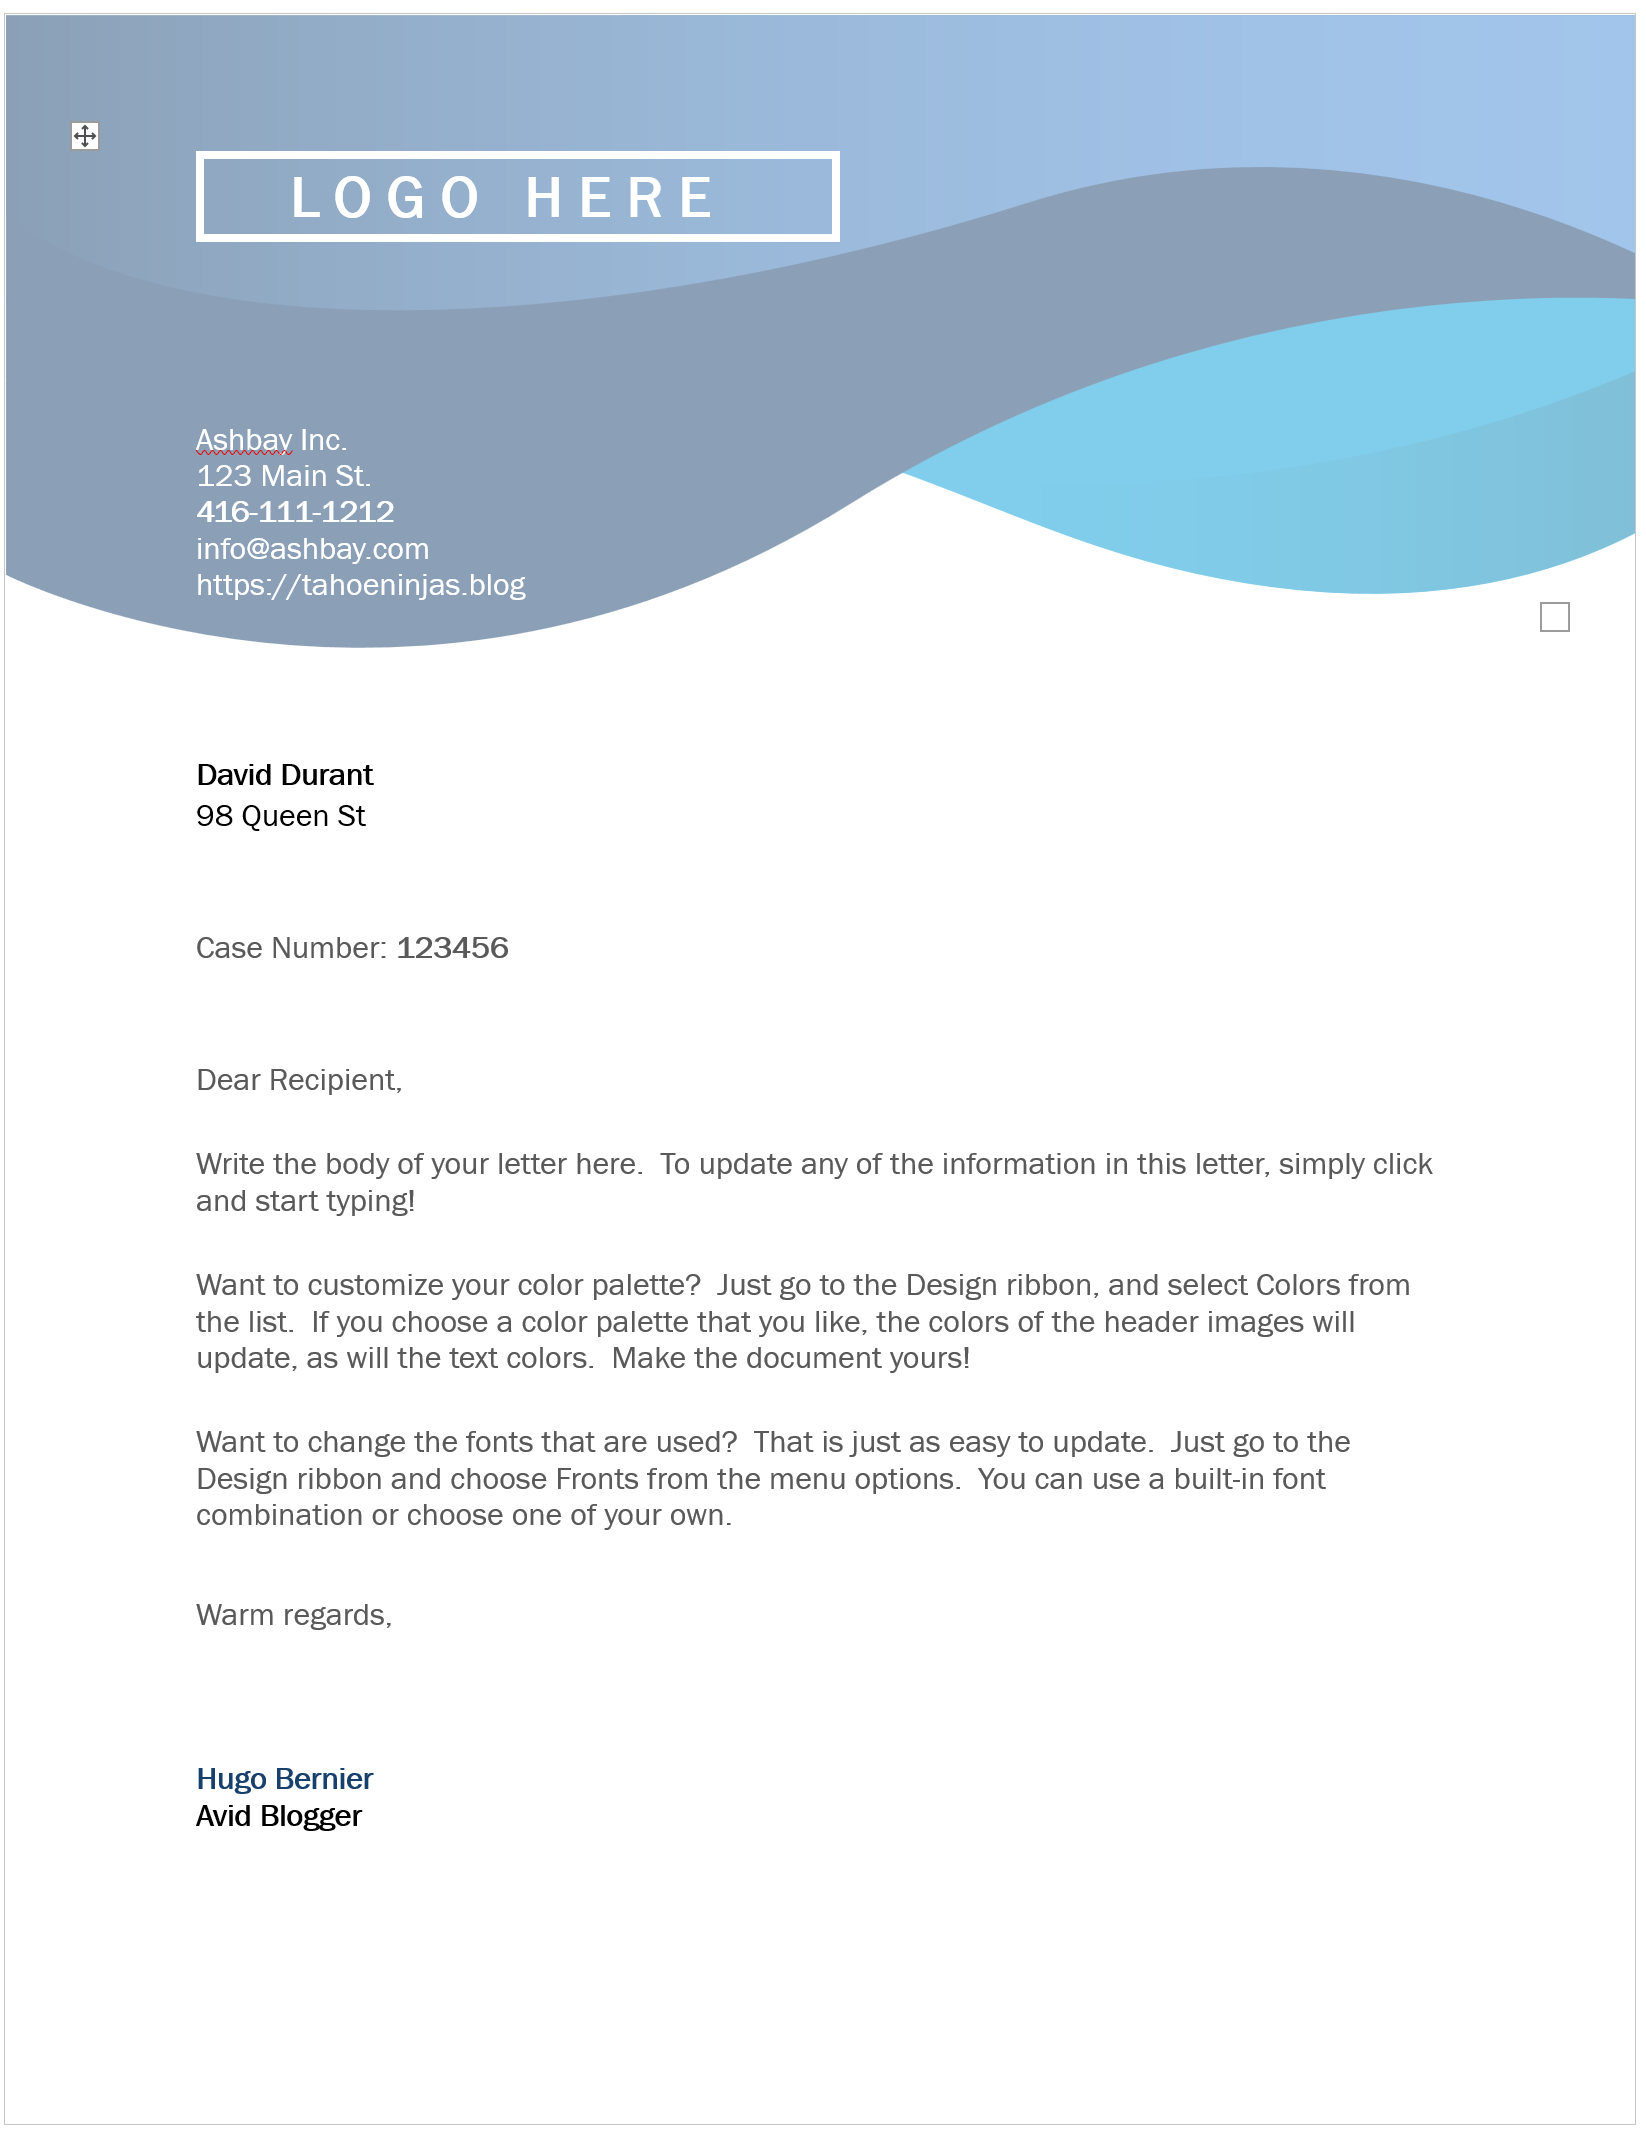
Once the flow is finished running, you’ll find a document with a matching case number in your destination library. It should look like this:
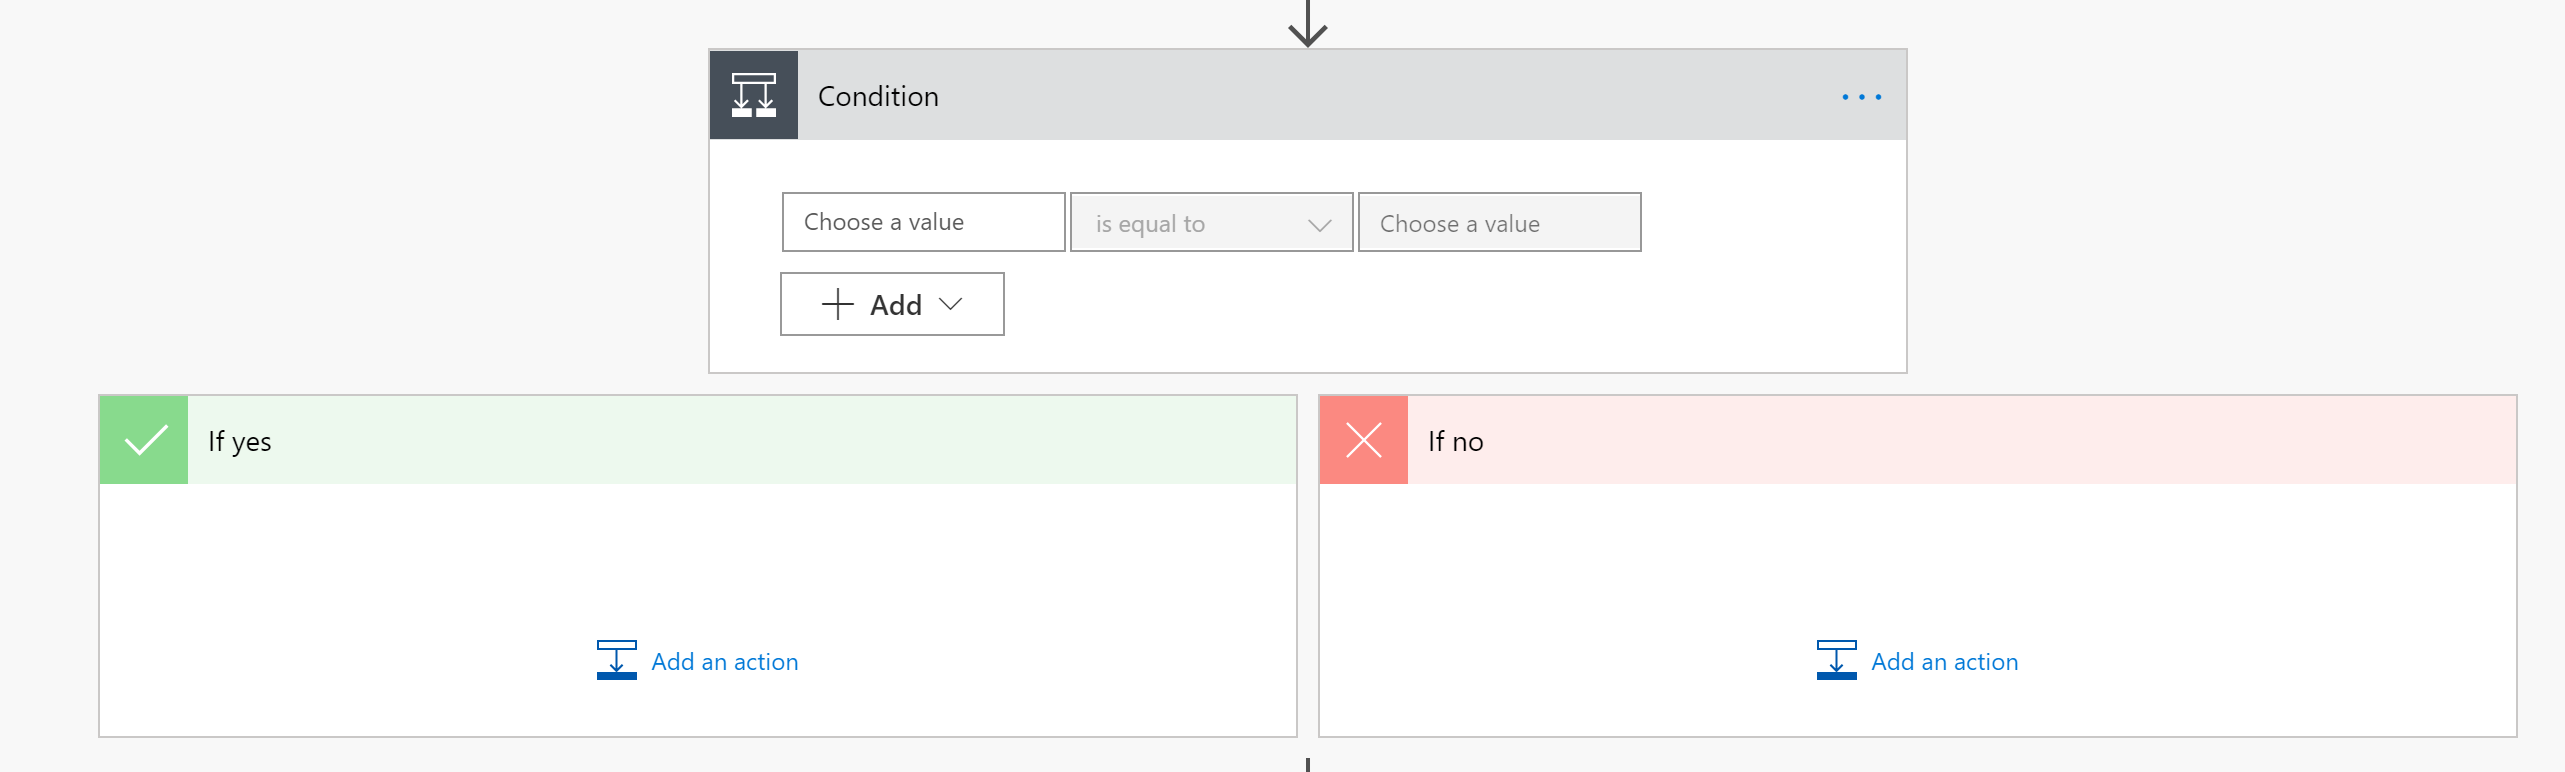
But what about conditional sections?
That’s really all there is to it… but a common question I get is "How do I change content of the template based on some conditional values?".
The easiest answer is: just use more than one template and create conditional logic in your flow to populate the appropriate template based on whatever rules you want.
Help, my content controls don’t show up in the Populate a Microsoft Word Template
If you find that your content controls don’t show up after you save your template, I have found that adding a Title to the property control seems to help.
If that doesn’t work, make sure you used a Plain text content control and try removing the formatting.
If the template doesn’t seem to refresh, try saving your flow, leaving the flow, then editing it again. It will reload the template and should refresh the list of content controls.
Conclusion
As you may have noticed, it probably takes longer to create a proper Word template than it does to dynamically populate a document in Power Automate.
I encourage you to explore the capabilities of the Word Online (Business) connector.
I hope this helps?
Photo Credits
Photo by Patrick Fore on Unsplash


5 Comments
Great article, thanks Hugo.
Looking at a similar requirement, however tempted to populate the template with QuickParts that are linked to metadata within the content type in SharePoint. Obvious benefit of not needing a premium connector, and obvious downside of QuickParts not being viewable in browser (word online). Any other considerations in this example or other reasons to pay for premium connector over this approach?
Thanks again for the article
Hi Hugo, we’d love to use this for a client, but being an enterprise client, we want to set the Sharepoint environment / Doc Library etc. at runtime, which means Flow can’t automatically give us the template fields to populate at design time (fair enough). If I set the library etc. using expressions, I am given a “dynamicFileSchema” field instead (and if I’d used a static reference to a template earlier than these seem to be converted to reference the template fields by a “dynamicFileSchema/12345” style.).
I assume this dynamicFileSchema field allows us to craft a manifest of the template fields by hand, but I can’t find any documentation or blogs online which describe how to use it.
Do you have any experience with this field, or know of another way to achieve our purposes?
Manually editing the Sharepoint Location / Doc Library / File in each environment after each deployment is not on the cards for us – there will likely be dozens upon dozens of template references to update, every release, and we (the devs) don’t have access beyond the Dev tenant so this will be pushed to someone without D365 / Power Automate skillsets, so represents too much work and risk for higher environments.
Thank you for your comment. I was trying to tackle a relatively difficult flow and keep it simple, and making it generic would have made it even more incomprehensible, but you’re absolutely right — it should be more generic.
I’ll try to write a follow up article. No promises when I’ll get to it, but I’ll get something written.
Hi Hugo, I tried this earlier but could not get it working. Will need to try again!
Is this still a premium connector?
Sadly, last time I checked it still was